Glastron GT-150 Page
Oh no, not another project.
Just bought this old 1978 Glastron GT-150 boat as a project. The
motor is a good working old Mercury 90 HP "tower of power" 2
stroke outboard, and the boat is the "James Bond boat" the same
model used for the boat chase scene in the movie Live and Let
Die with Roger Moore where the boat jumps over the sheriff.
Pictures will be added as the project is being
done.
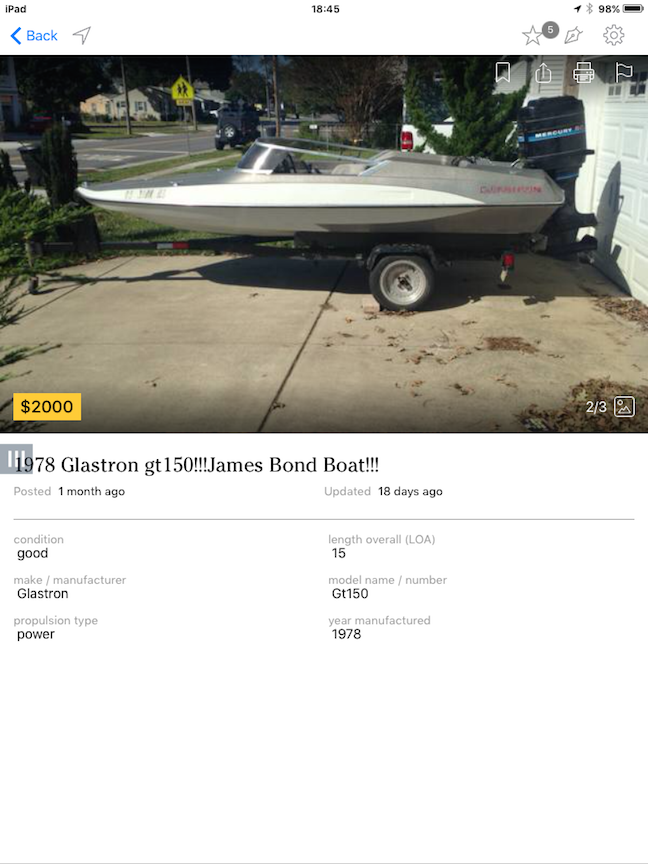
This is the advertisement that got it all started, though as it
was obvious the floor was rotten the price was negotiated down to
$1500, which seemed a fair deal as the Merc was in good running
condition.
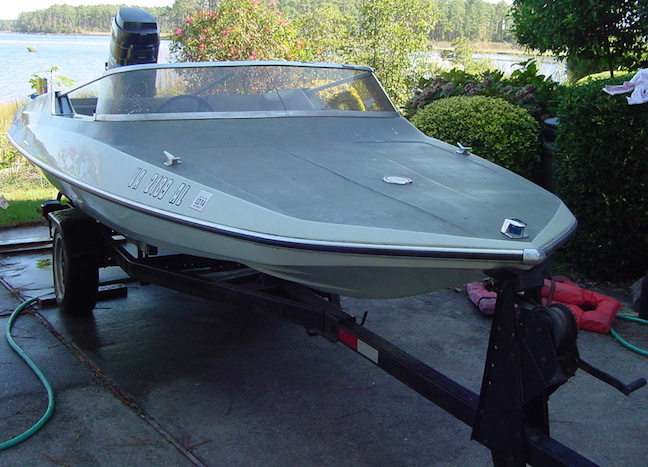
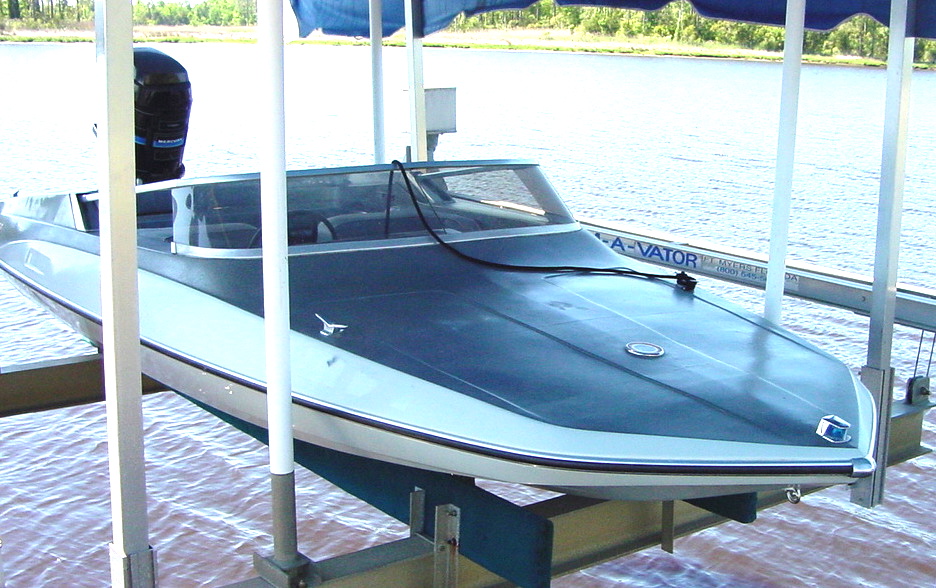
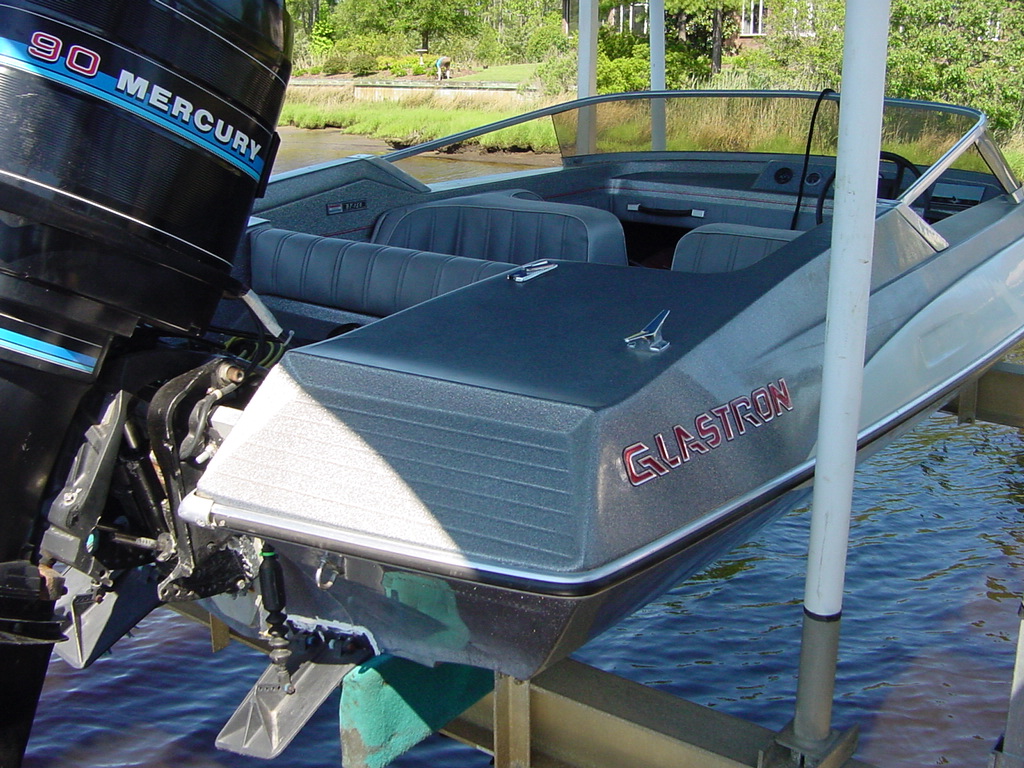
Here are some other photos of the boat before tearing it down.
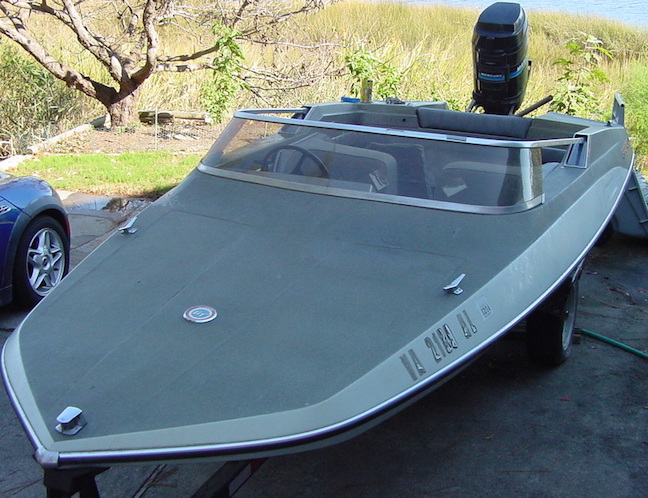
Overall appearance is not too bad, except for the crack down the
middle of the windshield.
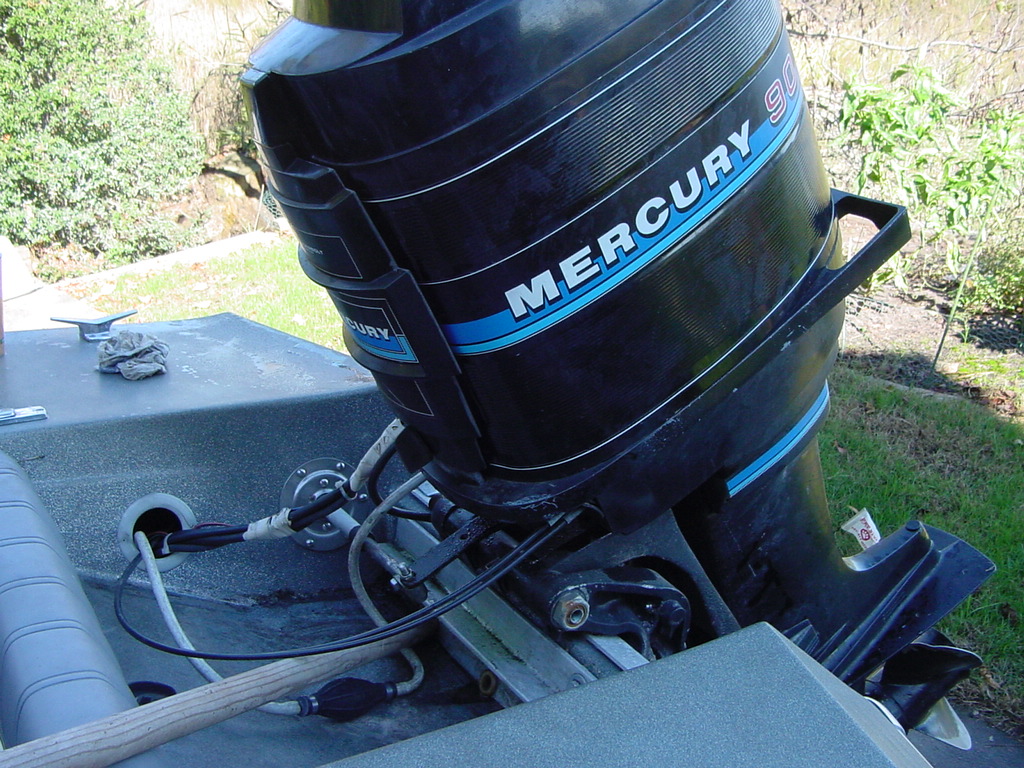
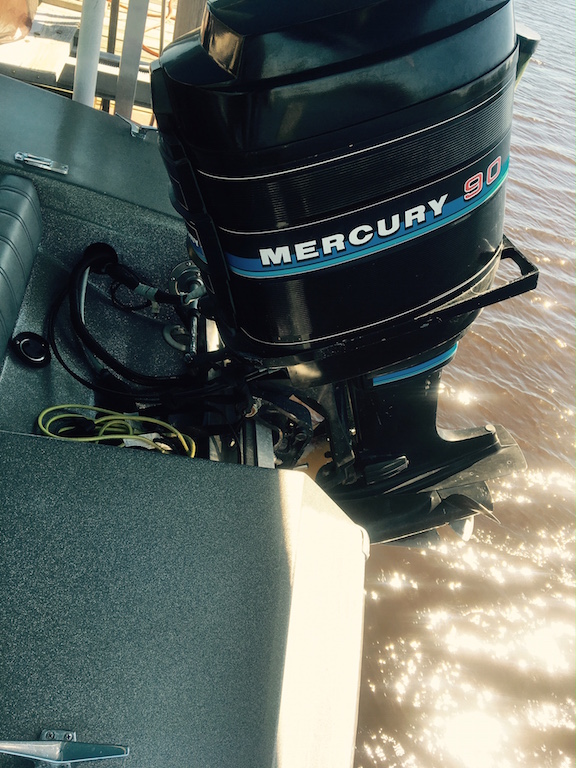
Here is the Mercury 90 HP Tower of Power.
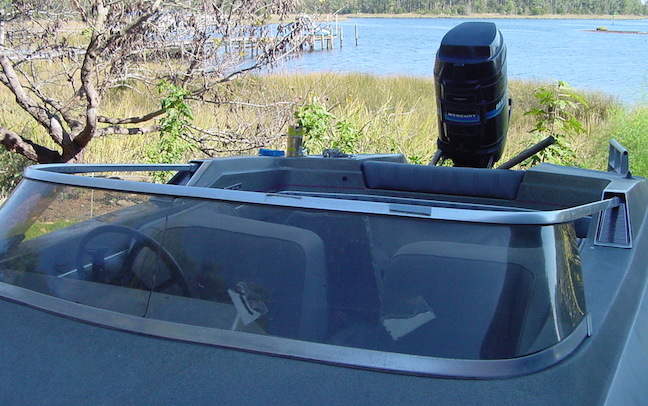
Unfortunate crack right down the middle of the windshield
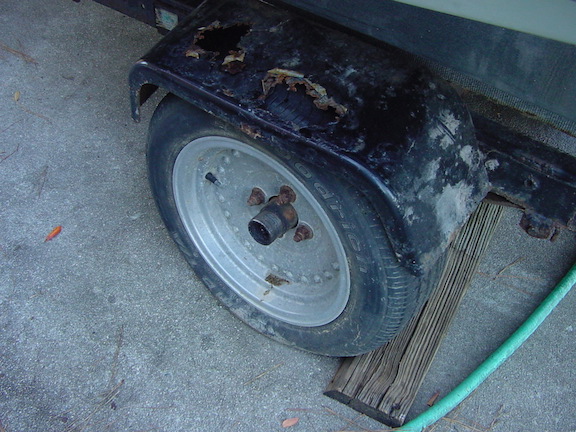
Trailer was in pretty bad shape
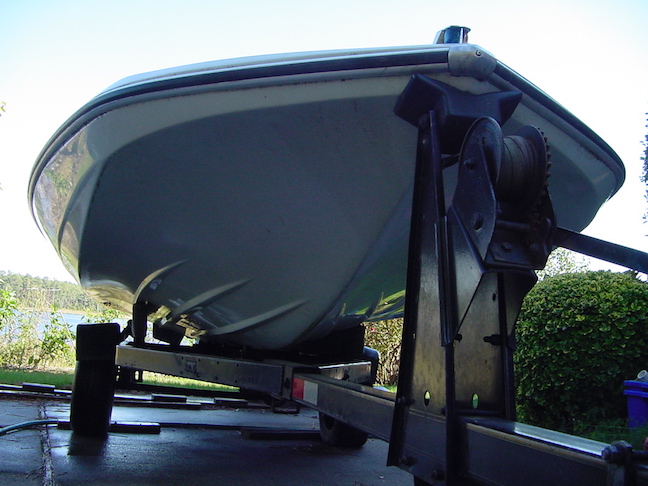
Hull looks to be in pretty good shape
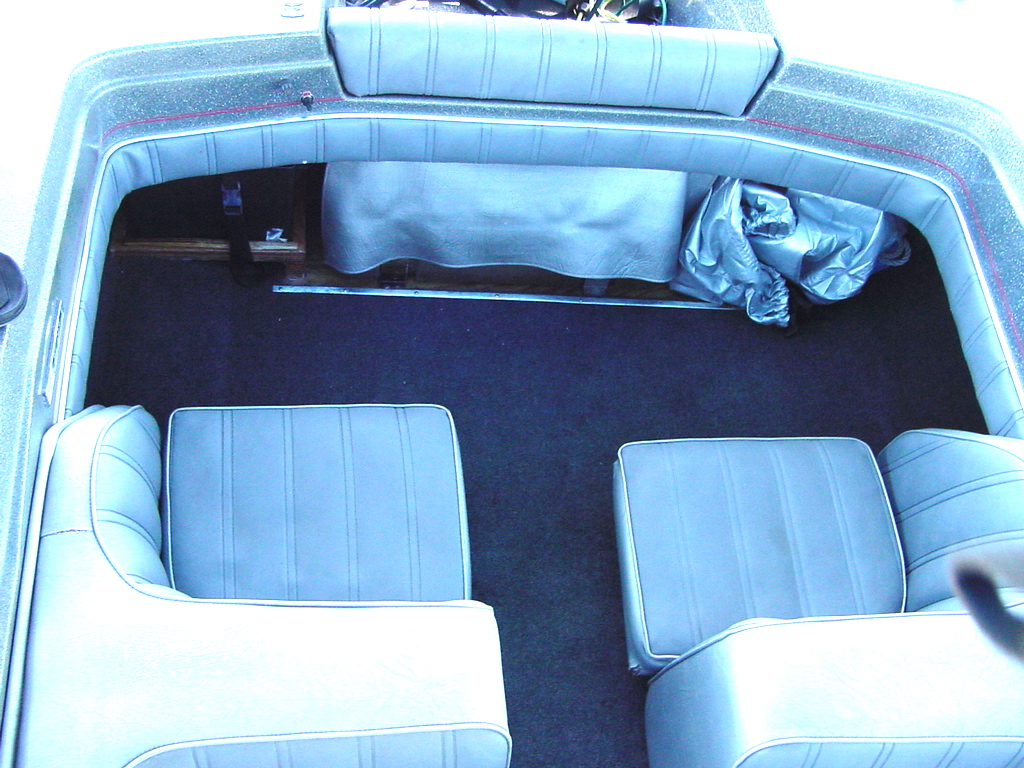
Seats and floor were rotten
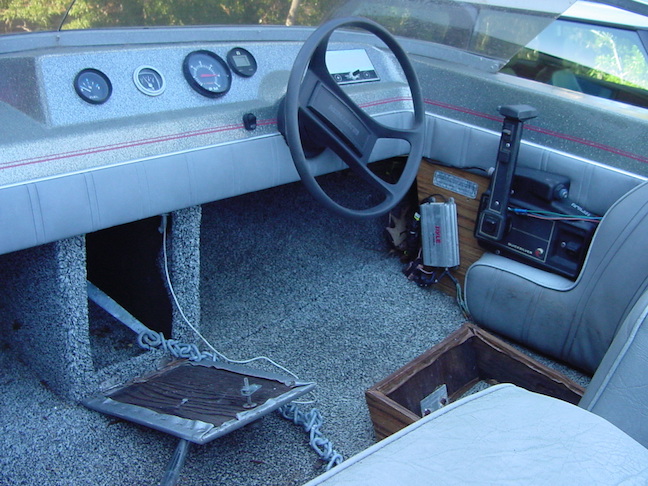
None of the instruments were functional
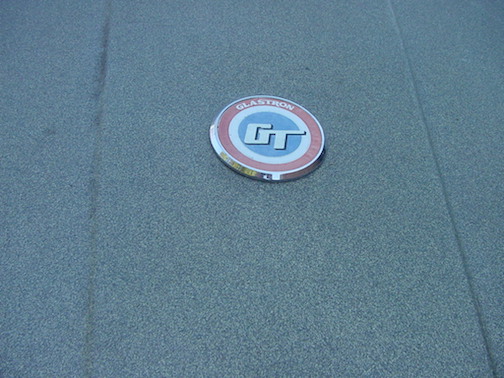
Cool Glastron GT bow decoration
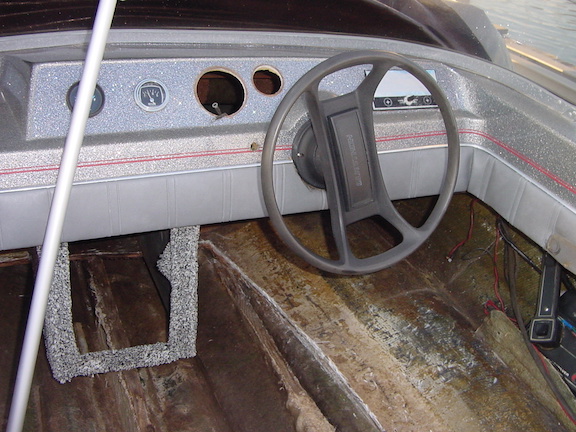
So, after a quick test drive the motor and steering seemed fine,
but my feet crunched right through the rotten plywood floor. I
removed the seats, and the seat bases were also rotten. After
removing the seats, I pulled up all the carpet and yanked out all
the rotten plywood floor. The 3 stringers were obviously rotten
too so they had to go.
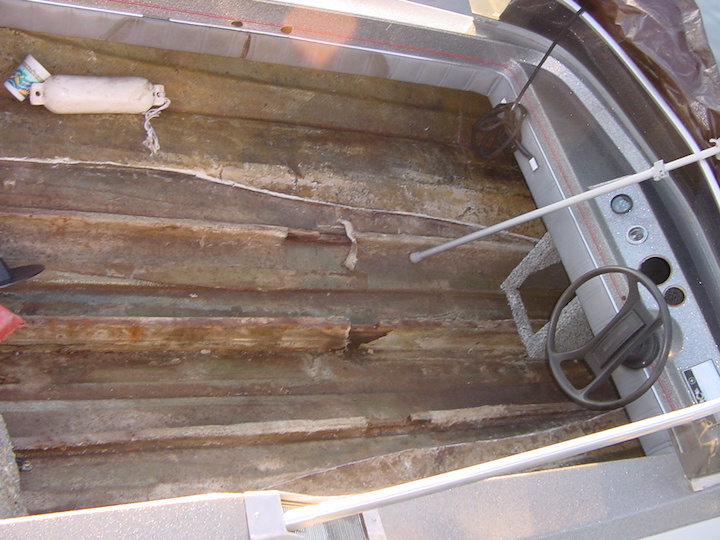
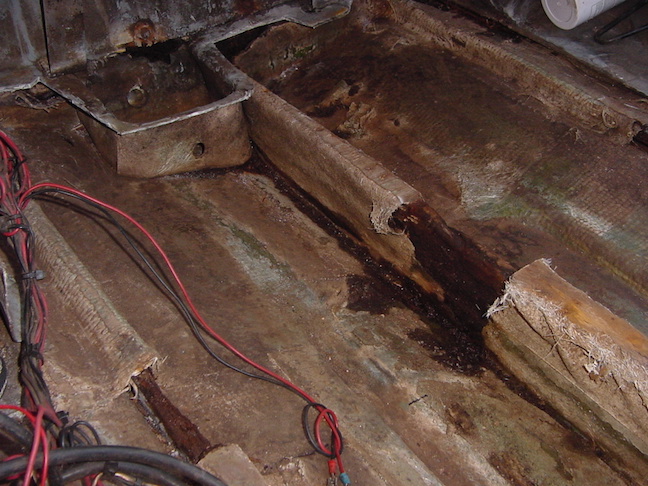
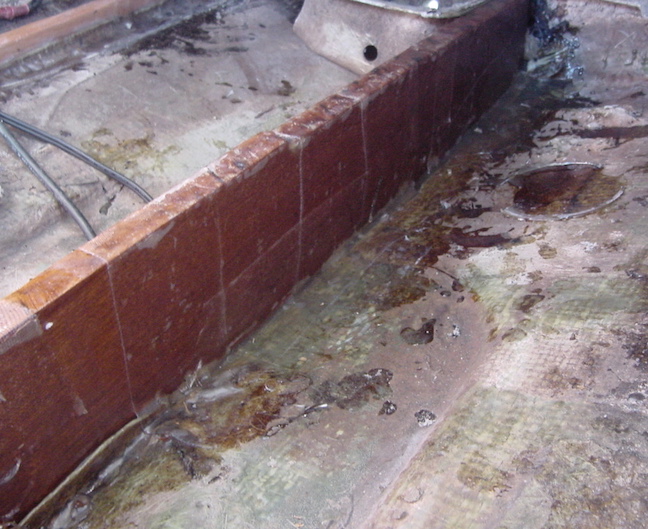
Stern end after removing the plywood floor, revealing the rotten
stringers.
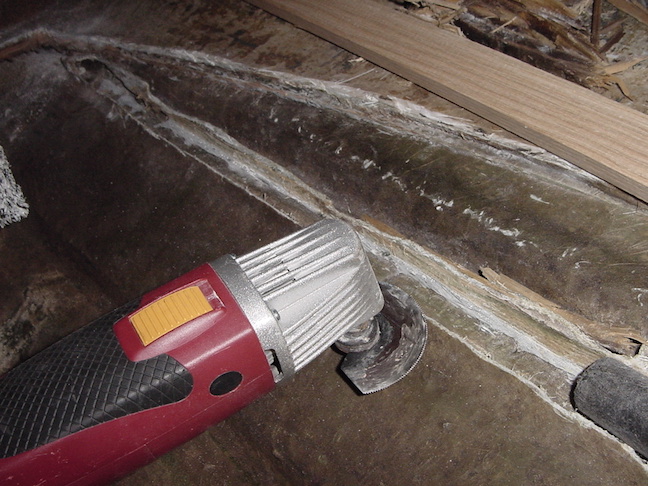
I used this multifunction vibrating tool to cut the fiberglass
tops off the stringers and pull out the rotten wood. A shop vacuum
was held nearby to suck up the fiberglass dust.
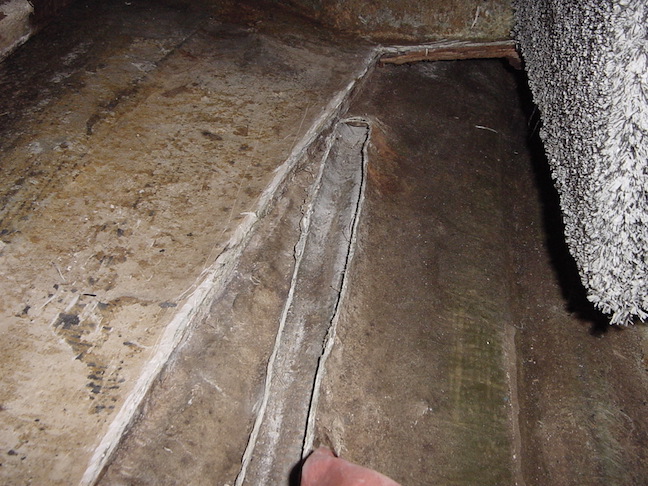
After cutting off the fiberglass wrapping on the stringers, a
groove was left to fit in the new stringer. I used 1 x 2 inch oak
about 102 inches long for each of the 2 small lateral stringers.
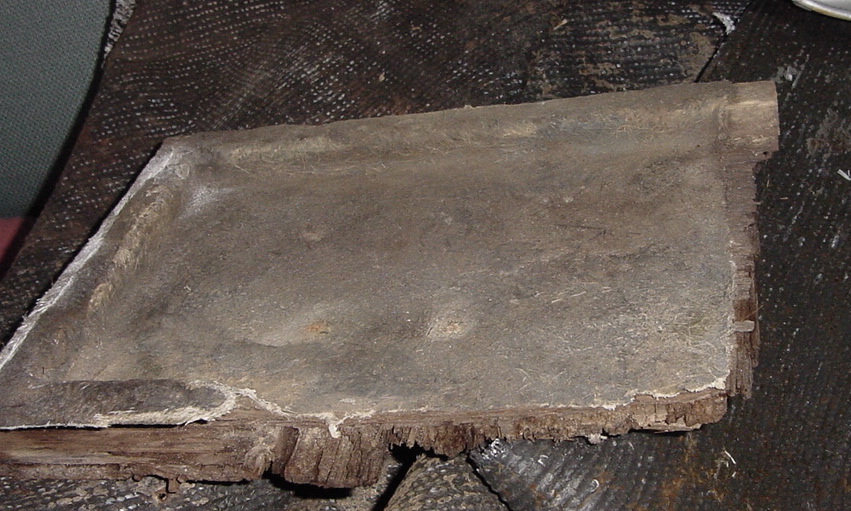
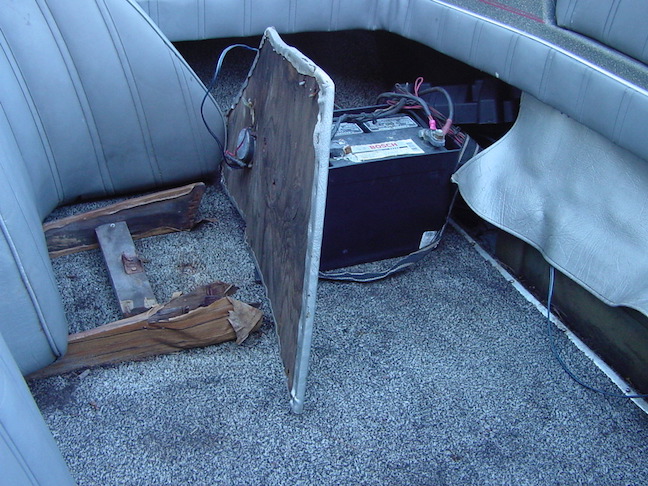
Even the battery holder base was rotten so it was ripped out and
used as a pattern to build a new one.
Here is the new battery tray, made of marine plywood.
After putting a layer of fiberglass on the battery tray it will be
more rot resistant. Just needs some edge trimming and will be
ready to install.
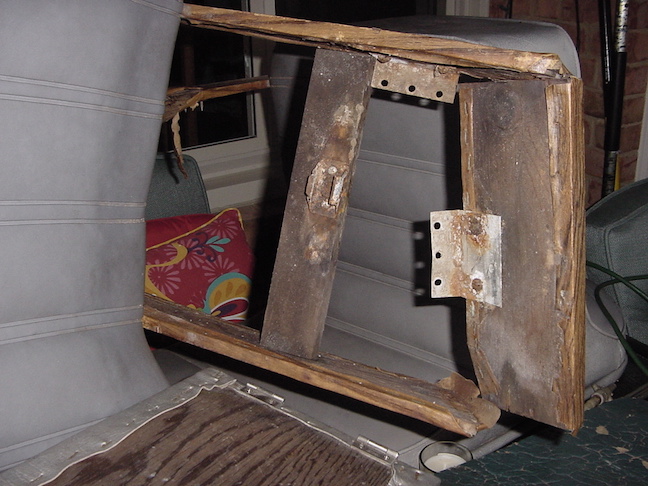
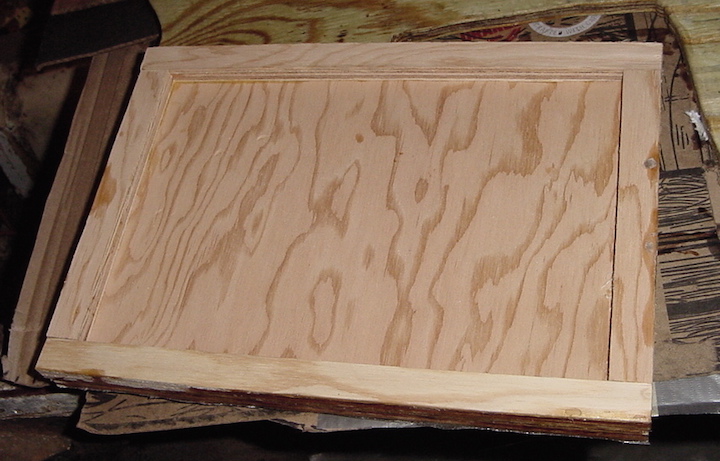
The bases of the seats were completely rotten. They were removed
and disassembled and then used as templates for the new ones.
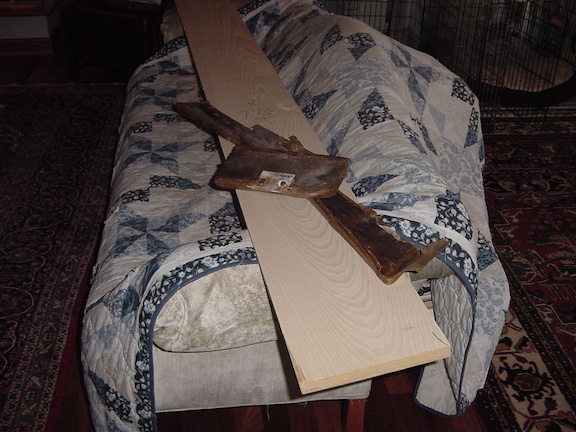
The old parts were laid out on a new piece of hardwood, and traced
to cut the new pieces. Uh oh, project is invading the living room,
since it was raining and couldn't leave the wood outside.
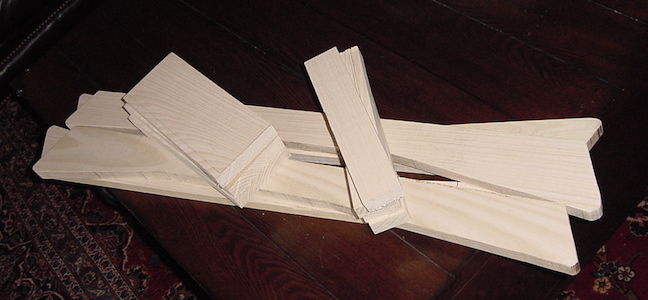
Here are the new pieces of the bases cut out.
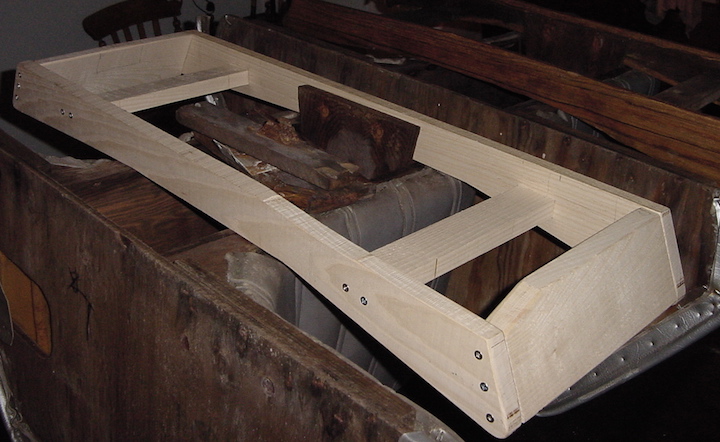
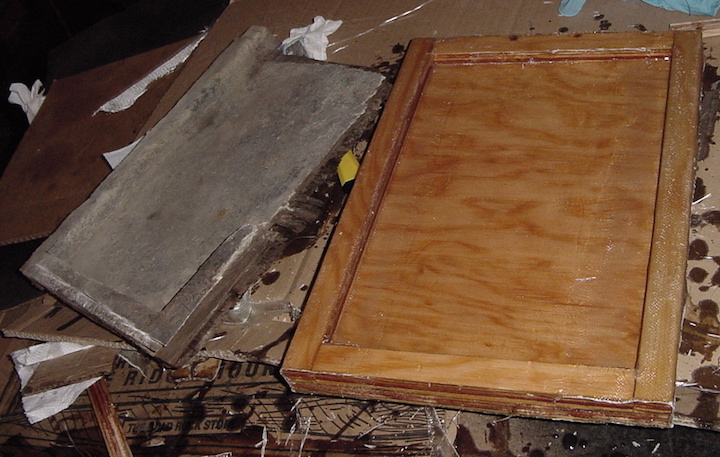
One of the seat bases assembled, sitting on the upside down seat
here. Will coat it with some polyester resin for waterproofing.
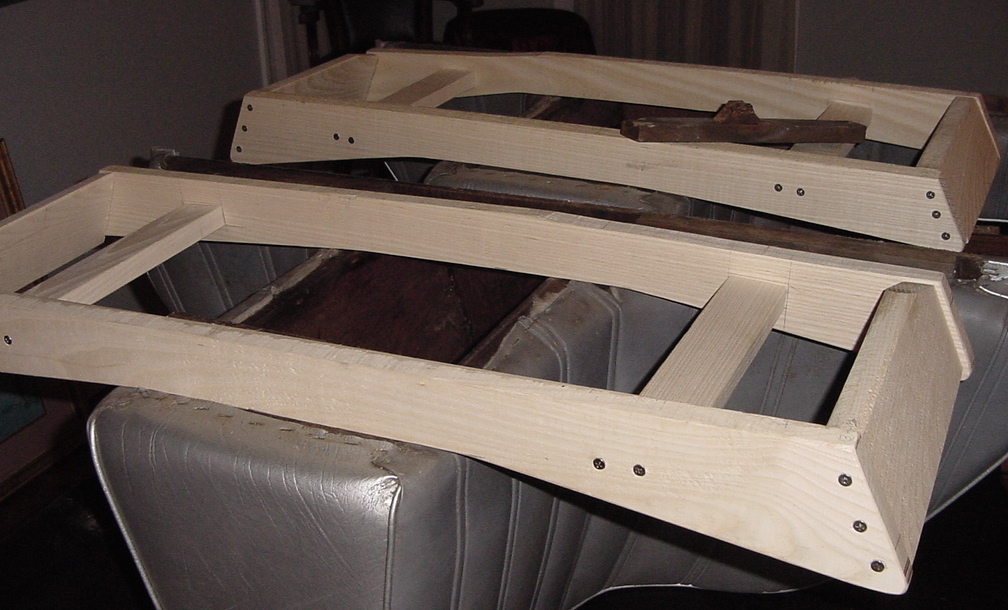
Both seat bases assembled now. Will probably have to do some
planing on the bottom to get them to fit the contour of the hull.
This is not the best photo, but shows the new center stringer
glassed in place down the center line of the boat. You can see a
bit of one of the lateral stringers, lighter colored wood on the
right. The tops of the 2 lateral and center stringer need to be at
the same level to hold the floor in place.
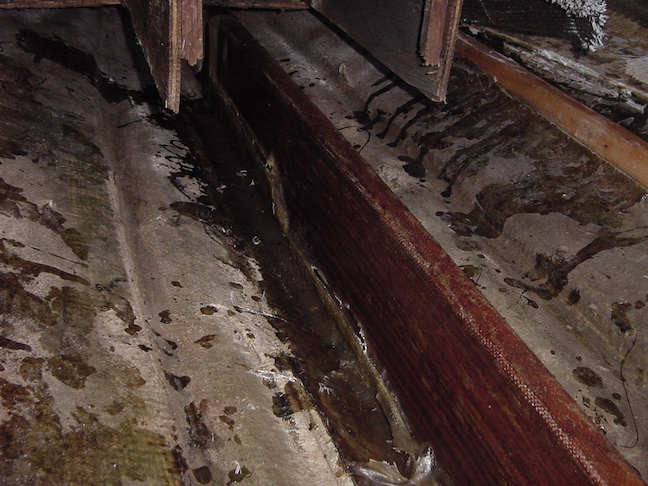
This shows the stern end of the center stringer. You can see some
fiberglass draped over the top and lapped on to the hull to
reinforce and hold it in place. I went a little crazy and used an
Ipe wood deck board for the center stringer. Ipe is a very dense
hardwood used for outdoor flooring and decking that is quite
moisture resistant and very strong. I just used white oak for the
lateral stringers and set the stringers into the channel remaining
after digging out the rotten wood of the old stringer. I shaped
the new stringers to fit and poured some resin into the channel
and overlaid the stringer with fiberglass to completely encase the
wood and help prevent future rot from water exposure.
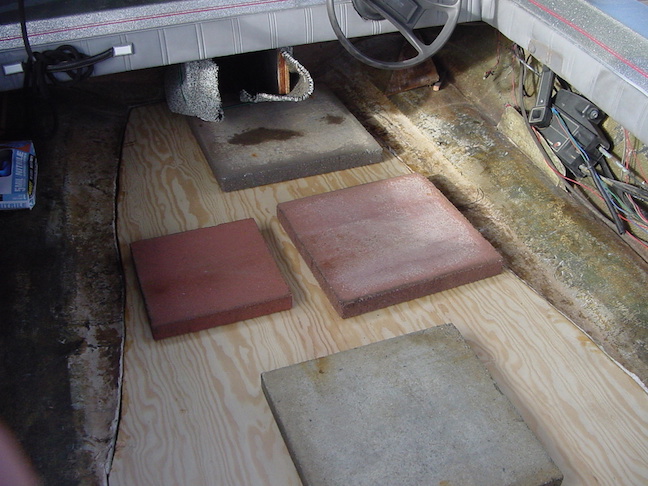
Got the floor board cut out of a sheet of 1/2
inch marine plywood using a cardboard template. the bottom was
coated with fiberglass resin to help prevent rot. I put some
liquid nails on the tops of the stringers to hold the board down
initially until I glass it in. Next step will be to cover it with
fiberglass and resin, smoothing out the joints with the hull. I
had to cut out a triangle of the 2 boards that form the ski locker
at top center of the picture, and will replace those pieces and
fiberglass them in place. Once they are covered with the new
carpet, the splice will not be visible.
There were some strips of foam flotation under
the original floor that were glued to the hull. They were badly
waterlogged and would have provided no bouyancy, so i removed them
and replaced them with sealed plastic flotation chambers glued in
place to maintain the necessary flotation.

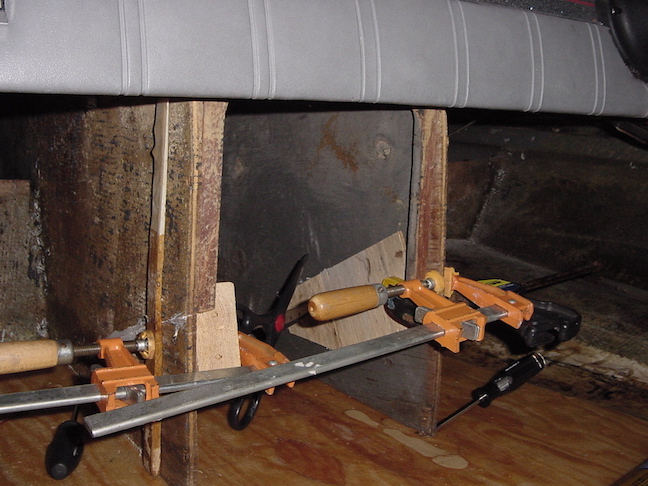
In order to slide the floorboard under the wood panels of the ski
locker, I had to cut off a little triangle of the bottom of those
2 panels to make room to tilt the big floorboard in and slide it
all the way to the front of the cockpit area. If you were doing a
really big restoration, you could take the whole top fiberglass
section off the boat but I did mine with the top section still
connected and replaced the stringers and floor up to the area of
the toe panels. In front of that, the wood seemed pretty solid.
After the floor was covered with fiberglass and sealed all around
the edges, (the bottom had been sealed before installation) I
replaced the triangles and glued them back in place. Next, I will
use some fiberglass strips to attach them to the floor and then
rebuild the little door frame.
Carpet Time
Working on the boat outside limits the time available to days when
the weather is nice enough to uncover it. We had six inches of
snow about 4 days ago and today it w as 65 degrees, so I got to
work and put in the carpet. I ordered the carpet form an online
place called Boat Carpet Direct and used DAP Weldwood All Weather
Outdoor Carpet adhesive to stick it down. I ended up using most of
a gallon can of the adhesive. The carpet was easy to cut with a
utility knife. It came in a roll that was 84 inches wide, just
right for the size I needed, and I got 15 feet, but could have
gotten by with 12 feet.
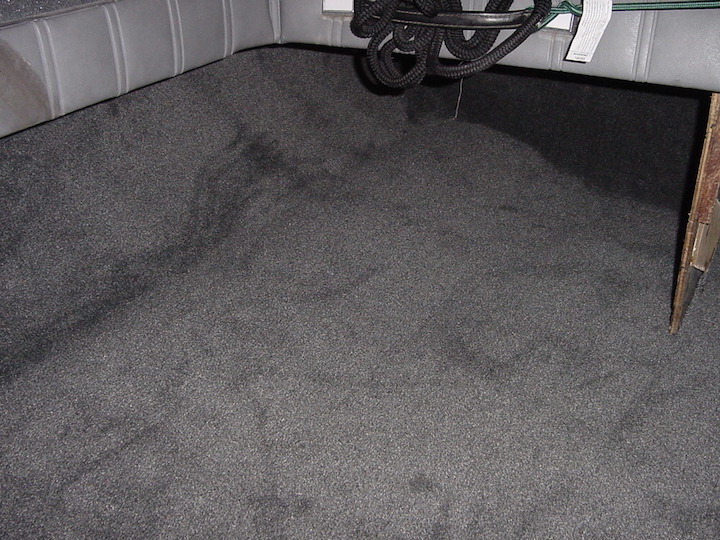
The backing of the carpet was flexible enough to smooth into the
contours of the floor. I used one big piece for the main part of
the floor, which was all I got done today. I will cut separate
pieces to cover the outside of the ski locker, and anywhere else
that needs coverage. Just having the carpet in place made a huge
difference in the appearance of the interior of the boat, so now
it is starting to give an idea of what the finished product will
look like.
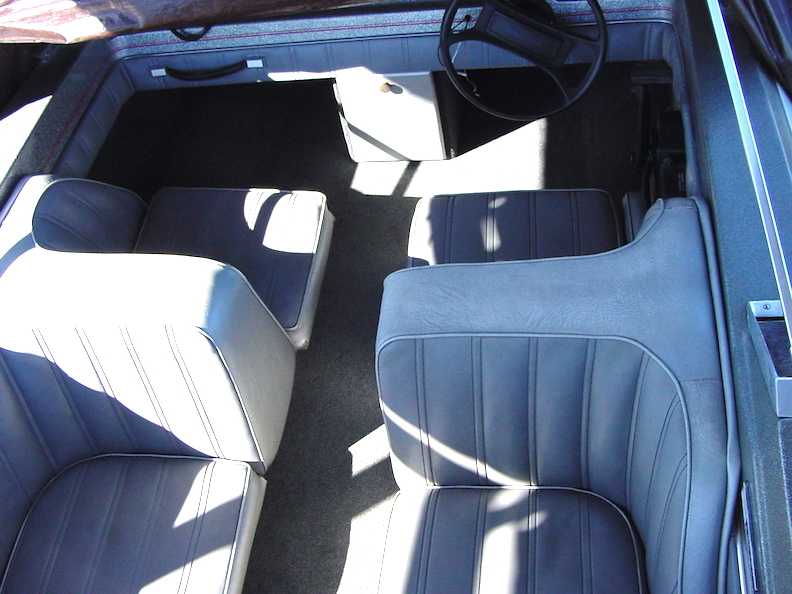
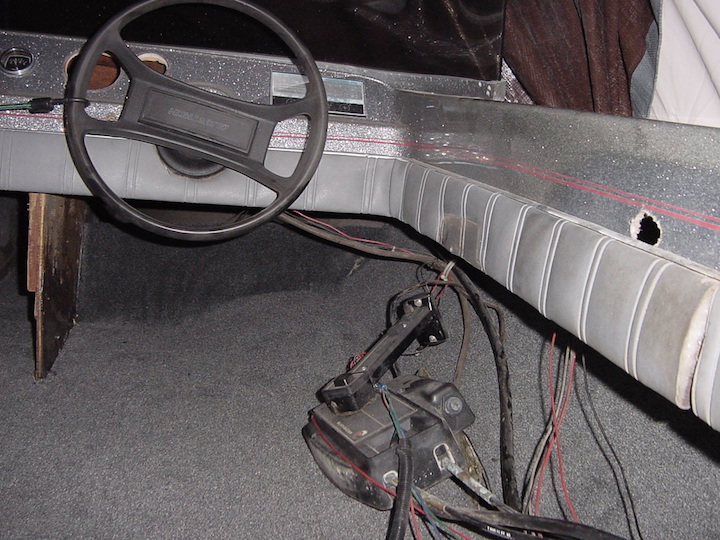
Bad photo, but got the carpet done, including around the ski
locker. Replaced the throttle control and the seats.
Also put an automatic bilge pump in the small bilge well under the
fuel tank, and then replaced the fuel tank with the aluminum
brackets to hold it in place.
Just have a few electrical connections to make, including a 3
position switch for the bilge pump, On-Off-Auto.
Some more photos of boat now pretty much finished
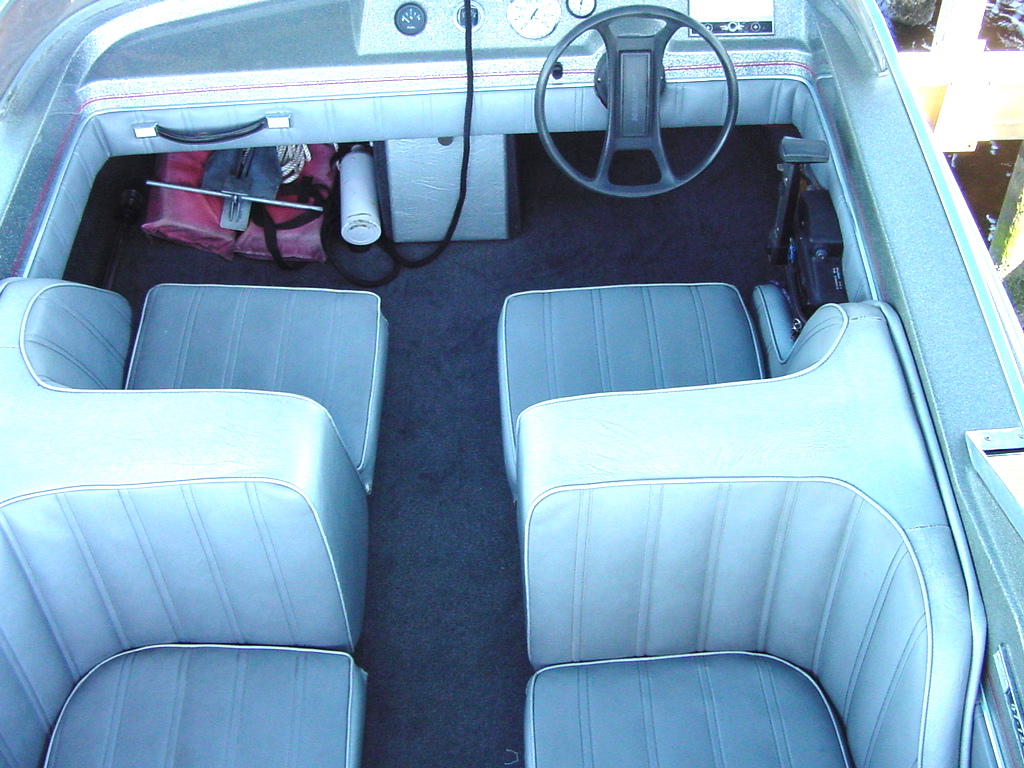
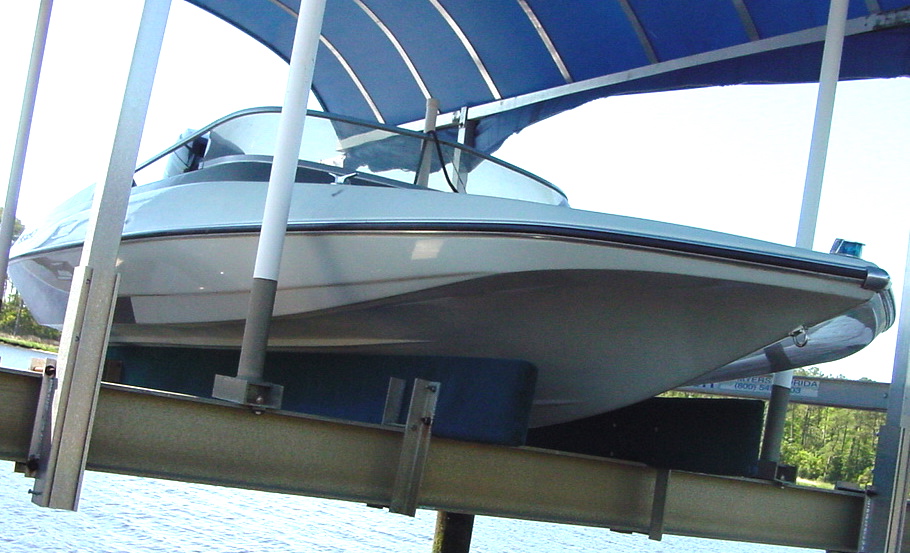
Items left to finish:
Install new speedometer pitot pickup.
Remove the aftermarket trim tabs on the stern.
Do a few cosmetic gelcoat repairs on the hull.
Check out engine. Seemed to run fine on test
ride but may need new solenoids for the trim tilt control.