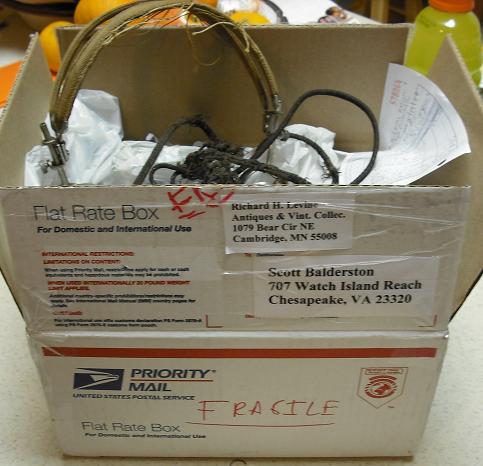
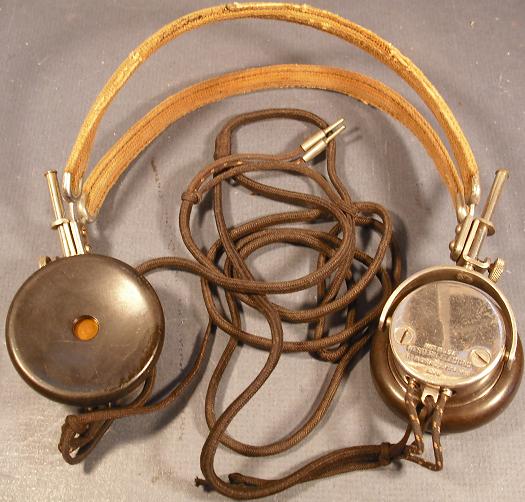
A package arrives in the mail and my wife asks me why I bought another pair of ragged old headphones.
This page shows the steps in cleaning up a pair of Western Electric 509W headphones purchased through the mail.
A package arrives in the mail and my wife asks me why I bought another
pair of ragged old headphones.
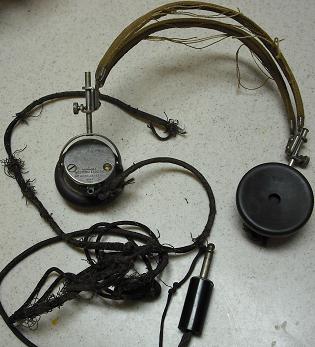
They do look like they have seen better days, the cord and headband are
pretty frayed.
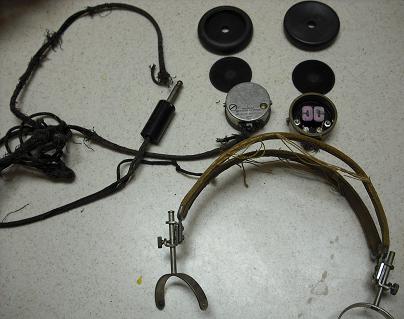
Here are the components all taken apart. Sometimes it is difficult to
get the caps off the ear piece housings, so if that is the case I start
with the hair dryer treatment to loosen them up.
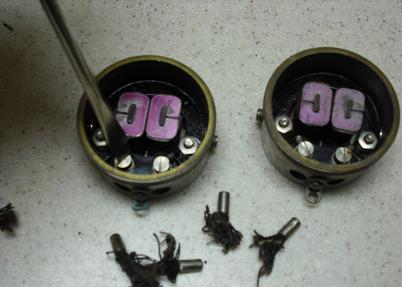
Here are the earphone units. One of the screws had been broken off.
This is pretty common with these headphones. There are 2 nuts inside
the housing, one jams down on top of the other so you cannot remove the
screw from the outside with a screwdriver, you have to open them up and
unscrew the nuts from the inside, otherwise you will break the head off
the screw like someone did in this case.
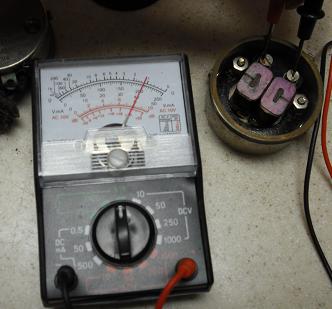
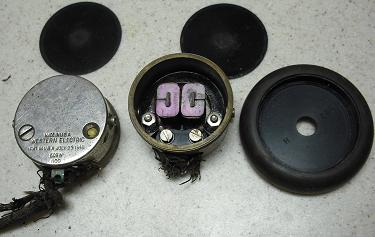
Good news! Both the units have good coils, about 1100 ohms DC
resistance each, and the magnets are good and strong.
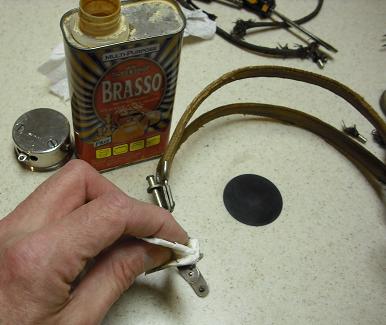
Here are the tip slugs removed from the sockets on the housings. The
cord was completely shot, so the terminals were salvaged and the cord
went in the trash.
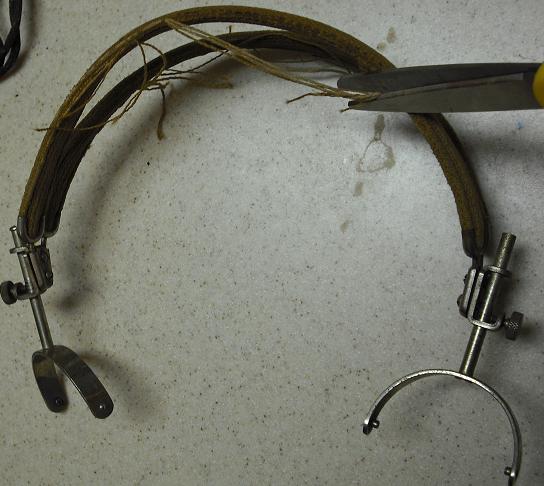
The loose threads were trimmed off the frayed headband. If the cloth is
greasy or badly soiled, they can be cleaned by spraying them with
laundry precleaning gel and then soaking in hot water for a few hours
and then scrub gently with a toothbrush being careful not to frazzle
the cloth too much.
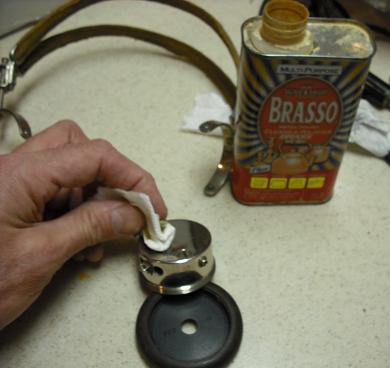
All the metal parts are polished with Brasso metal polish.
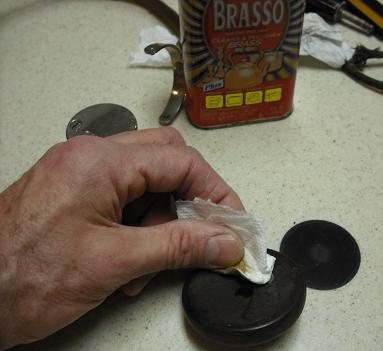
The earcaps can be cleaned with a nonabrasive cleaning powder line
BonAmi and then polished with the Brasso.
The headband yokes are also polished, and the missing keeper screw on
the top of the yoke was replaced with a suitable replacement. The
thread size on those is 3-48.
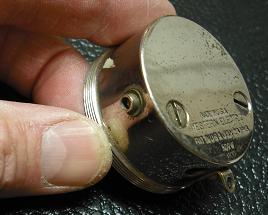
Here is the cleaned up housing.
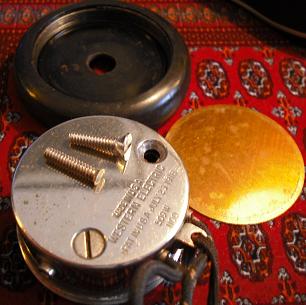
The broken screw was removed and replaced with a 6-32 by 5/8 inch
stainless steel flat head slotted machine screw that is a pretty good
match for the original. The stainless steel screws match the nickel
housing better than either a zinc plated or chrome plated screw. Make
sure to put both the nuts back on the screw on the inside and tighten
them up to hold the magnet in place.
Oops, lost the photo...
Here is the finished product. I had to discard the old cord
because it was so frayed it was beyond repair, but I removed the phone
tips and slug terminals to use on the replacement cord.
They have been reassembled, tested and put in a ziplock plastic bag for
safe storage until they are used or sold. The headband still has some
rough edges but looks much better with the frayed threads trimmed off.
I also flip the diaphragms over, since they had been facing the magnets
one way for 85 years and develop a little convexity, so flipping them
the other way gets them evened out and maintains the space between the
magnet core poles and the diaphragm. This pair now works like new.
Back to Scott's Crystal Radio Home Page