Double Doggie House and Chair Repair Projects
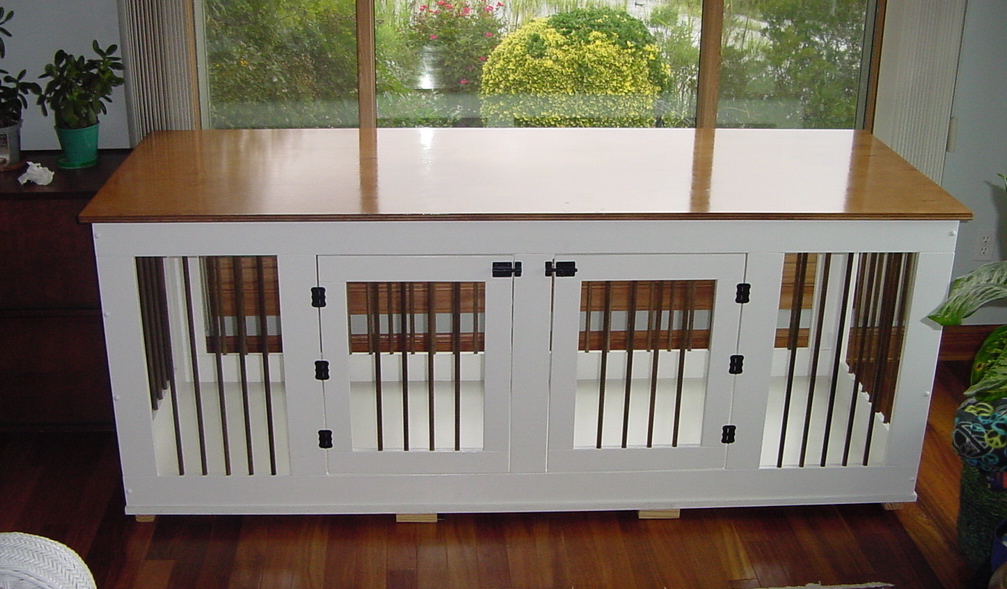
This project is a dog house for our 2 Labrador Retrievers to replace
the metal wire crates they have been using up till now. There are
similar items for sale in the internet, but they are priced well
over a thousand dollars, and I built this for about $250 in lumber
and parts. Below are the plans I drew up and parts and some photos
of the construction process.
Lumber used:
Top: 81.5" x 30.5" Maple clad 3/4 inch plywood cut from a full 4x8
foot sheet
Bottom: 80.25"x29.25" White melamine clad particle board cut from a
full 4x8 foot sheet
1"x4"x8' pine boards 7 pieces, these were cut to 4 pieces 80" long,
and 12 pieces 23" long
plus 1"x4"x6' pine boards 2 pieces, cut to 4 pieces of 27-1/2" long
for the sides, horizontal frame parts
1"x3"x6' pine boards, 2 pieces for the doors
Hinges 6 pierces for the doors
Gate latches 2 pieces for the doors
1/2 inch dowel rod, about 50 pieces for the bars, cut to 24 inches
for the long bars, or 18 inches for the doors
Plan Drawings:
Front
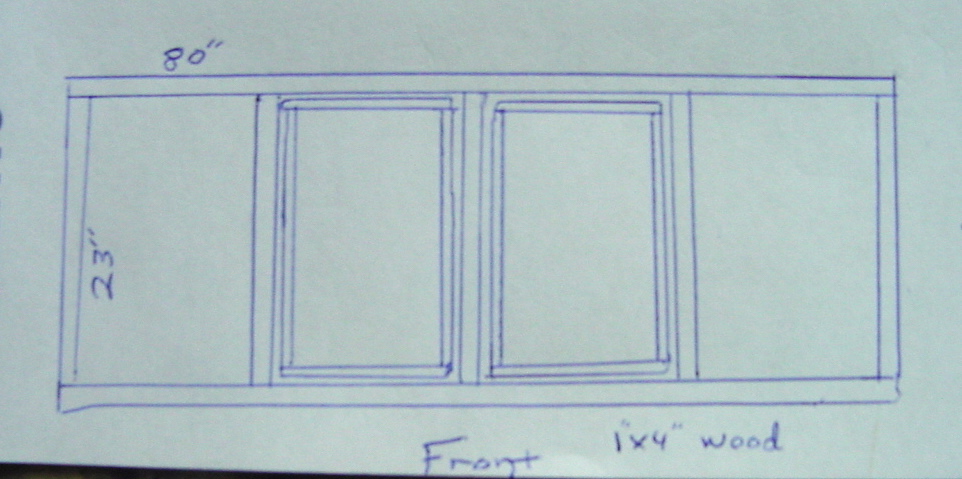
The front is framed with 1x4s, which actually measure 3/4 by 3-1/2
inches. The lengths were cut to 80" for the top and bottom pieces
and 23" for the 5 upright pieces.
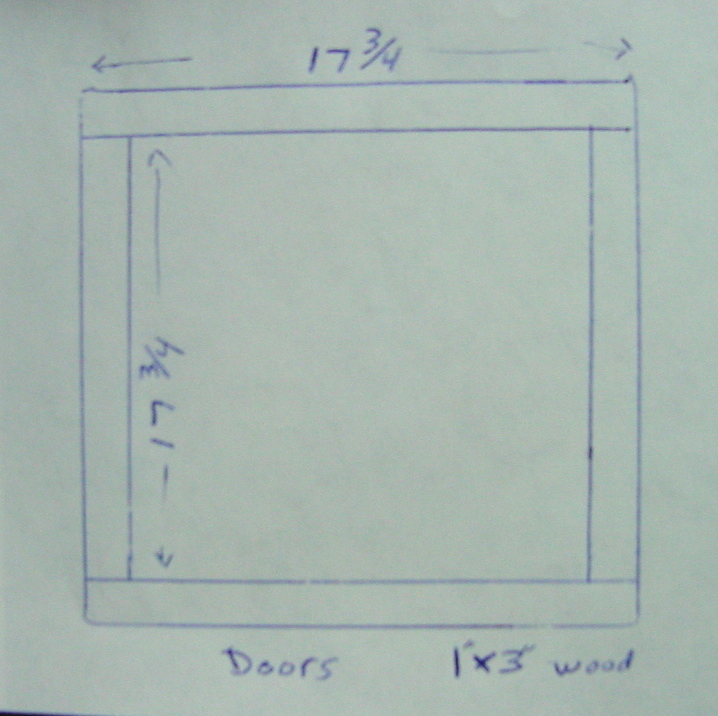
The doors were frames with 1x3s and all 8 pieces were cut to lengths
of 17-3/4 inches. When assembled, the doors measured 22-3/4 inches
high by 17-3/4 inches wide, giving a 1/8 inch gap above and below
the door. The middle upright frame piece was centered on the long
pieces, and the upright frame pieces for the hinges were placed to
give a 1/8 inch gap on both sides of the door frames.
Back
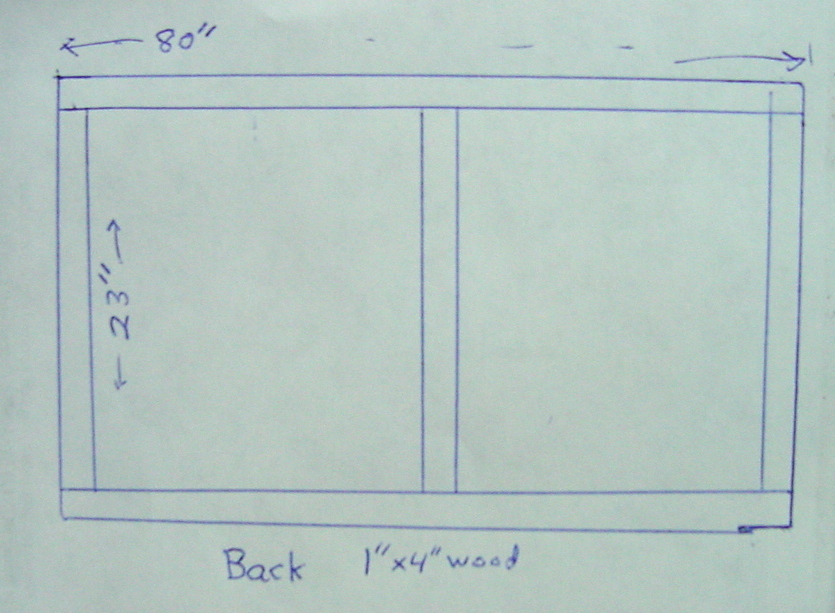
The framing for the back is done with 1x4s cut to lengths as above,
with the middle piece centered side to side.
Sides
As the 1x3 boards are 2-1/2 inches wide, the actual height of
the doors adds up to 22-3/4 inches, giving a 1/8 inch gap top
and bottom as the upright frame pieces are 23 inches high.
Oops, forgot the diagram for the side panels. Sides were constructed
from 1x4s cut to 27-1/2 inches long for the horizontal pieces and 23
inches for the vertical pieces.
Construction:
After drawing up the plans, I cut the 1x4s and 1x3s to the lengths
and laid them out.
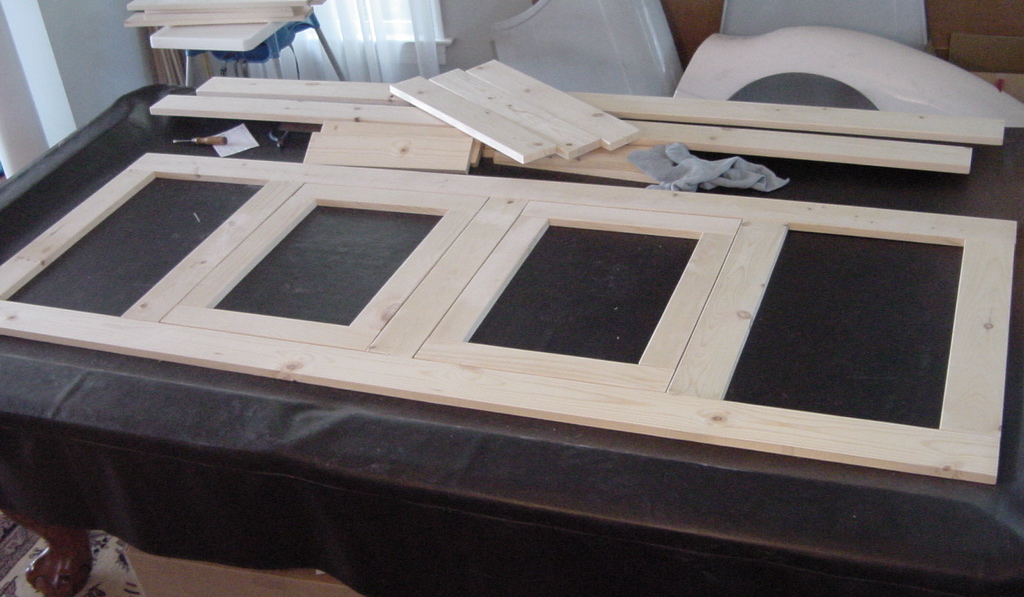
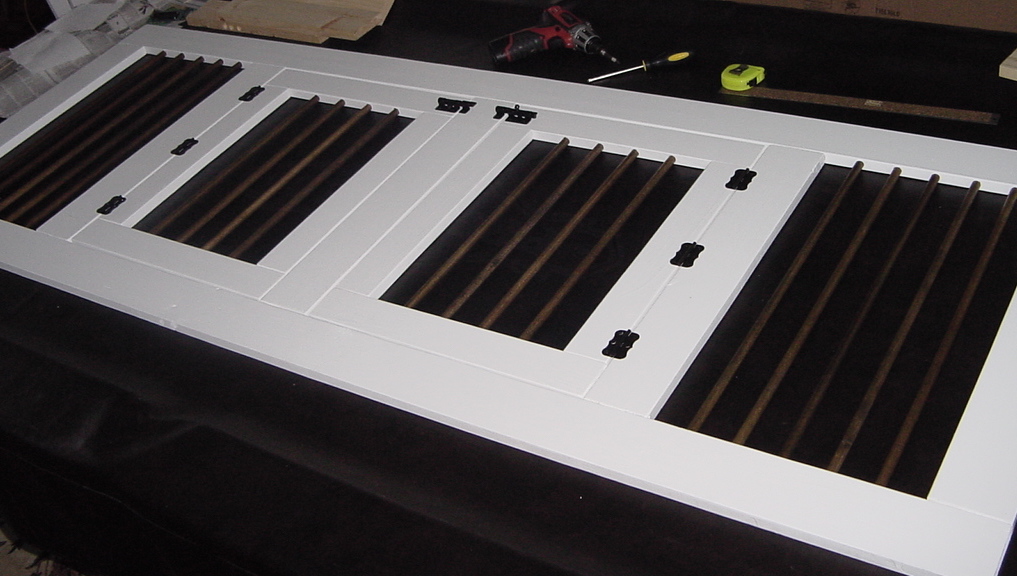
This photo shows the front panel laid out with the doors in place
showing the 1/8 inch gap all around the doors.

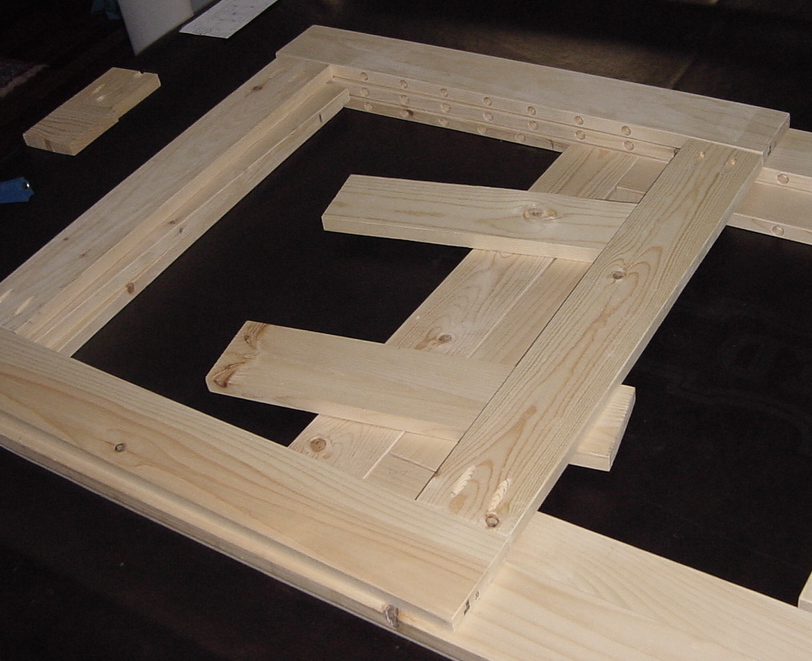
A picture showing the side panel laid out on top of the front and
back panels.
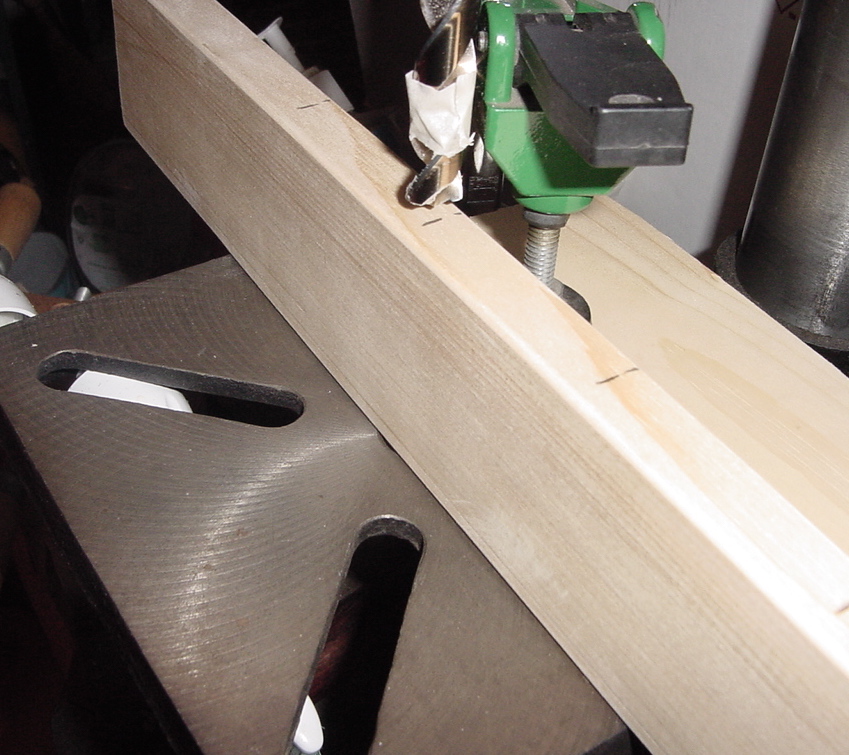
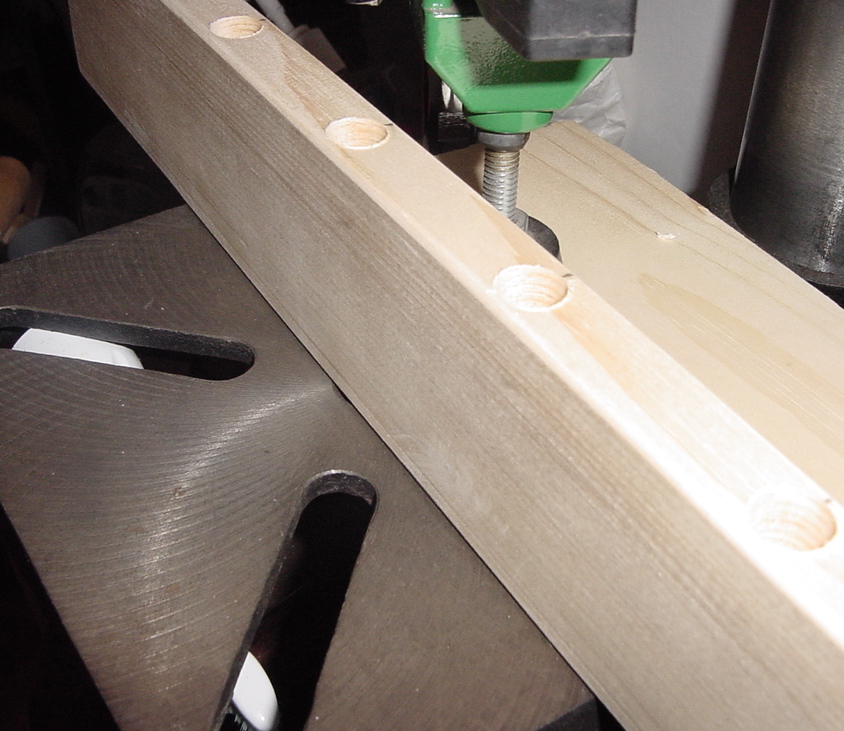
I used a drill press with a 1/2 inch bit to drill holes about 1/2
inch deep into frame pieces to hold the dowel bars in place. They
are spaced about 2-1/2 inches apart, but you could use any spacing
appropriate for your needs. I saw some plans where they used either
1/2 inch or 3/8 inch steel rebar which would be stronger than the
hardwood dowel, but quite heavy and harder to cut and paint. If your
dog would chew through the wood dowel, then the rebar would be an
option.
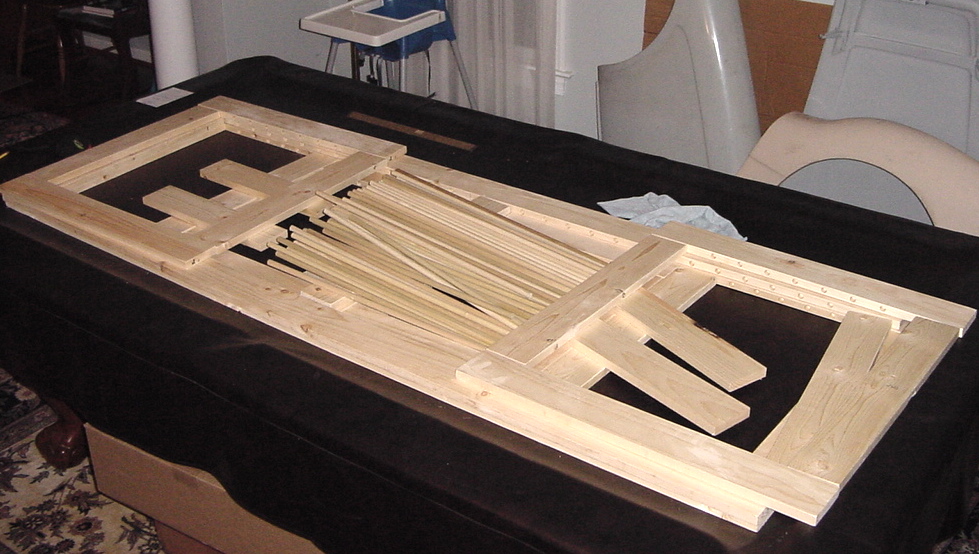
Here are all the pieces laid out again, with the holes drilled for
the dowels, and the dowels cut to lengths of 24 inches and 18
inches.
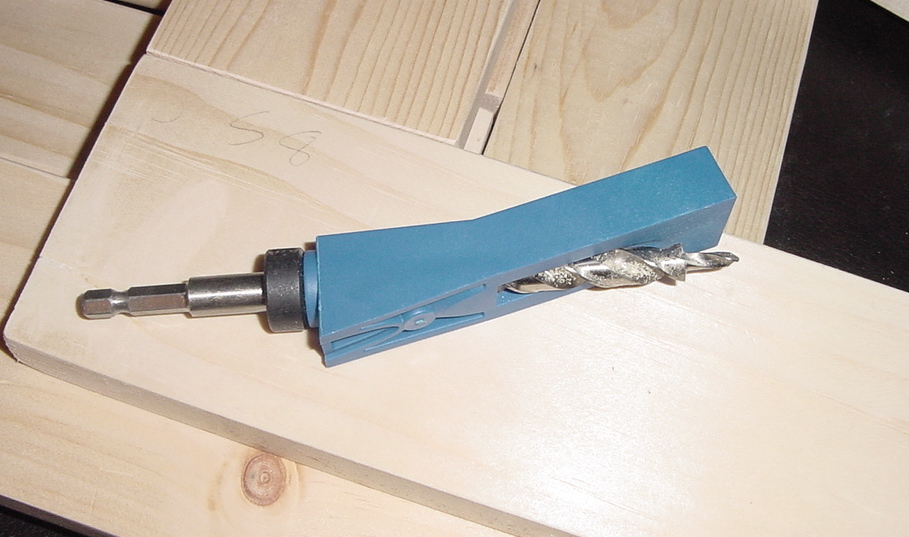
I used this Kreg pocket screw jig to drill holes for the pocket
screws to hold the pieces together for assembly. It comes with
instructions on how to clamp the jig in place, and how deep to set
the stop collar on the drill bit, and what size screws to use. I
used 1-1/4 inch long number 8 construction screws.
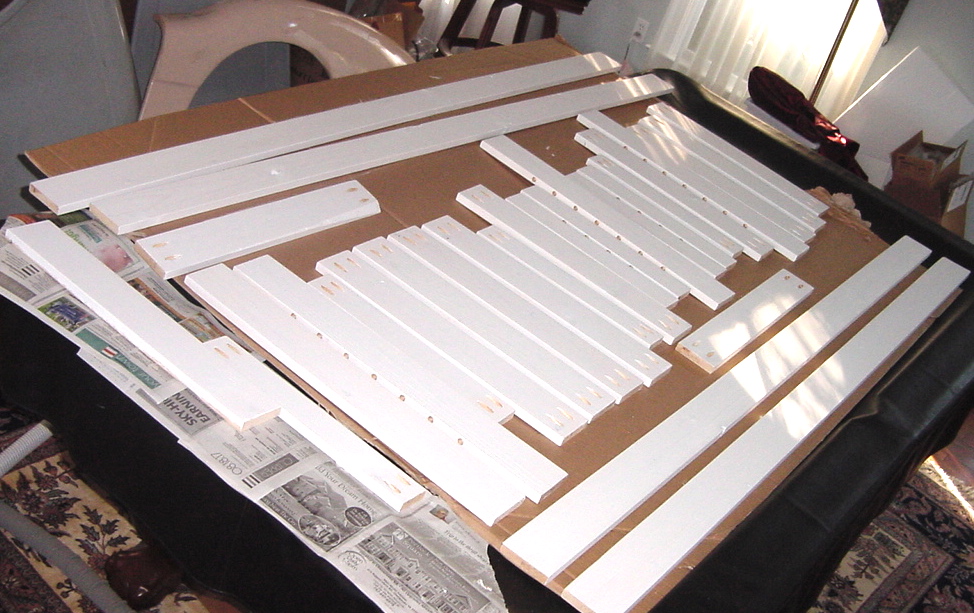
Next, I painted all the pieces with one coat of Kilz primer, and a
couple coats of semi-gloss white paint before assembly.
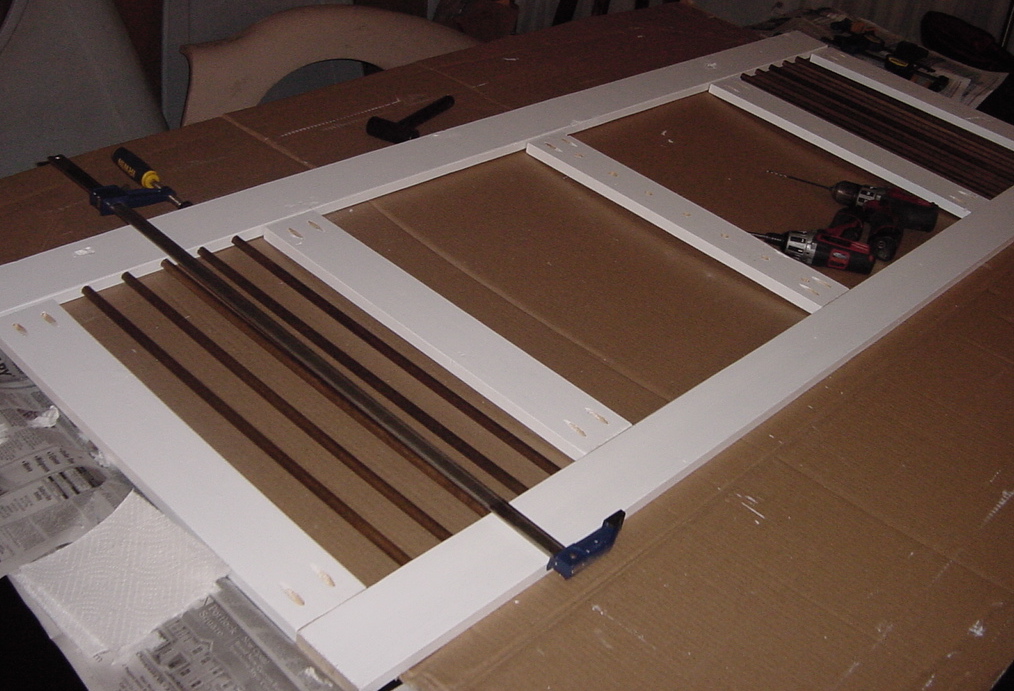
The dowel bars were stained and the ends rounded over a bit to make
them slide into the holes easier, then the whole panel was laid out
and clamped in place and secured with the pocket screws and some
wood glue. It was a bit tedious getting all the dowels into the
holes at the same time.
Here is the front panel, all assembled, and the door hinges and
latches in place. Sides and back were similarly assembled.
Sorry I don't have photos of cutting the plywood
top, or the melamine bottom, but the top board was cut from a full
sheet of maple clad 3/4 inch plywood, and the bottom from 5/8 inch
melamine clad particle board. The top was sanded and the edges
rounded over, then stained with a colonial maple color, and
varnished.
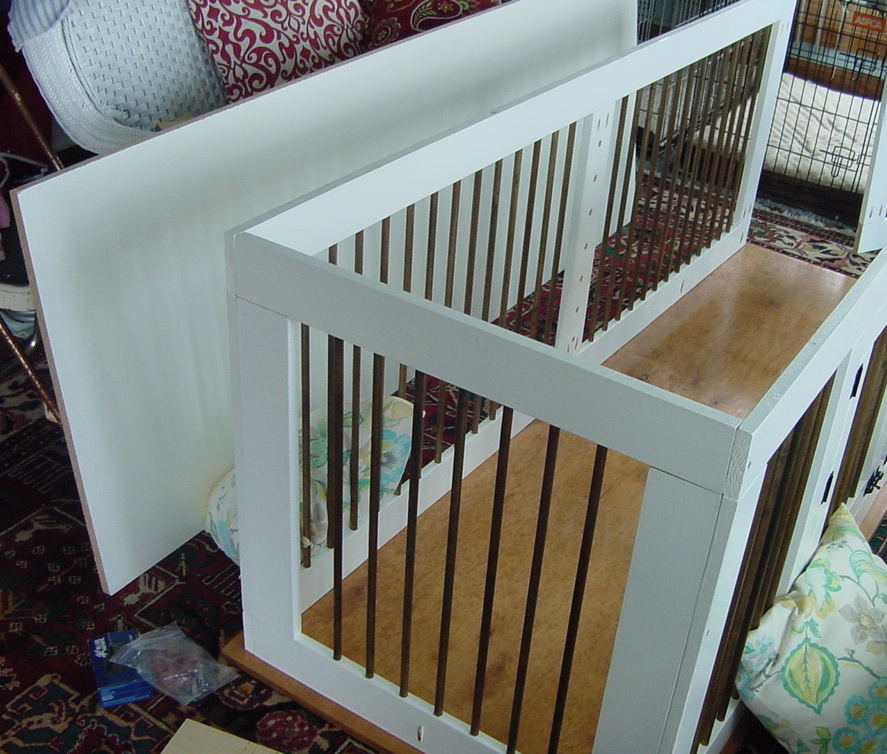
The top board was placed face down on the floor,
so the frame could be assembled upside down onto the top, again
using pocket screws to attach the top to the frame.
The bottom board was then screwed onto the frame and some little
feet were attached.
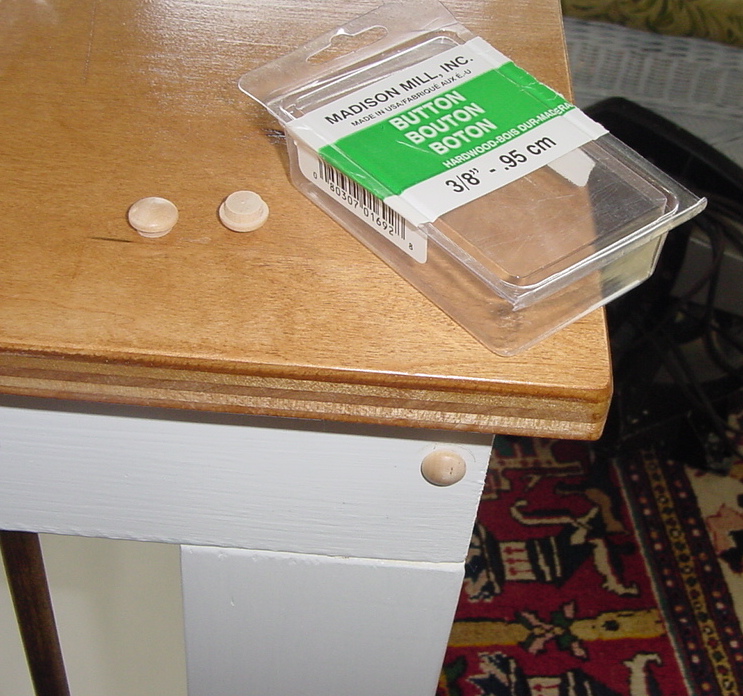
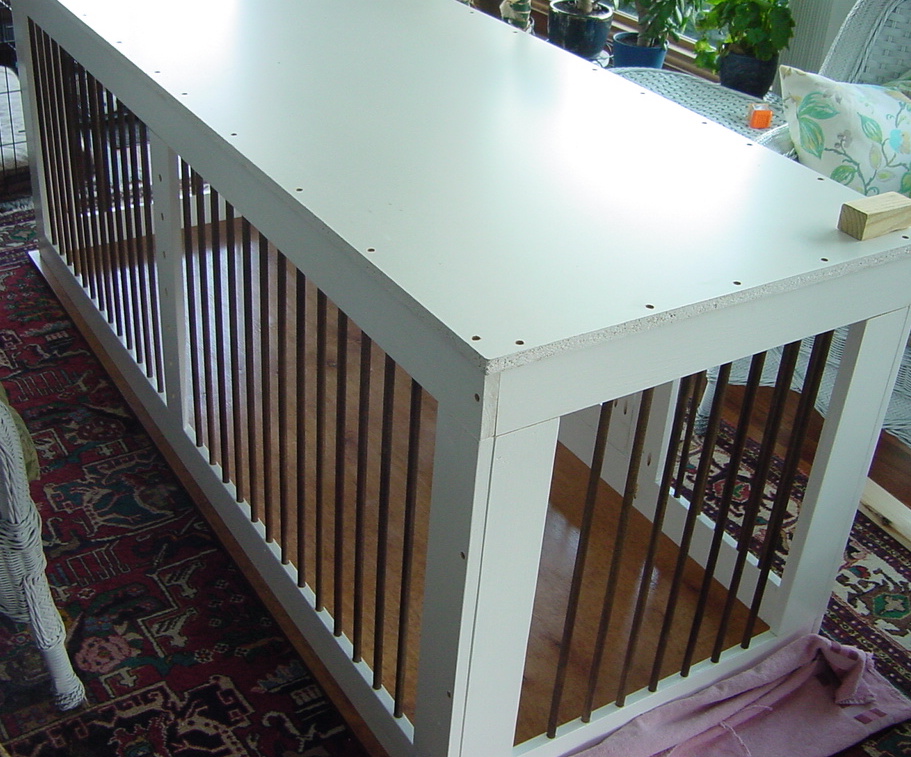
Then the whole thing was flipped over to be right side up. I used
some little dowel plugs to fill in the holes on the front frame
where the screws were countersunk into the wood.
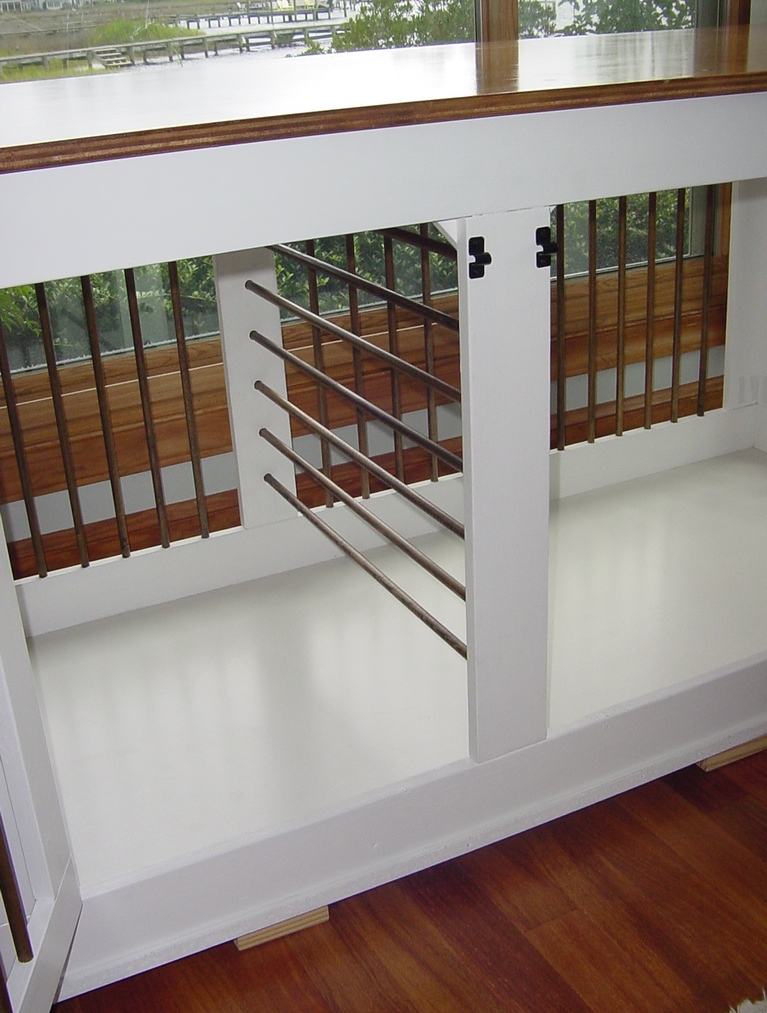
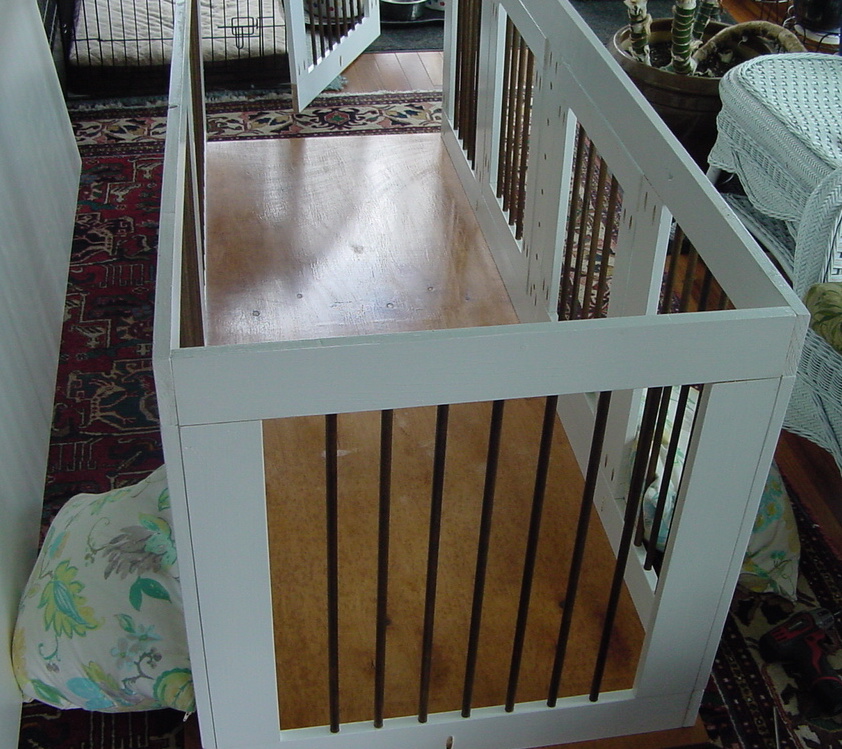
Since we have 2 dogs, the interior was divided into 2 sections using
some dowels run through some holes in the back panel.
The finished dog house, just need to add the standard 40x27 inch
standard size dog beds and a couple of dogs.
Chair Reupholstering project
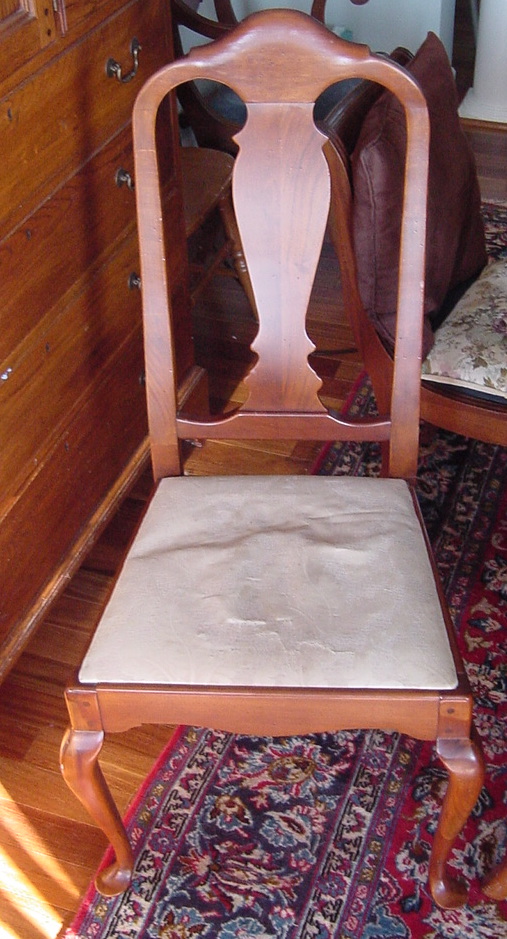
Our 35 year old dining room chairs were starting to look
pretty bad, but the frames were in good shape, just need new
upholstery material.
Turns out, we had some nice blue material that was meant to be made
in to curtains but that never happened.
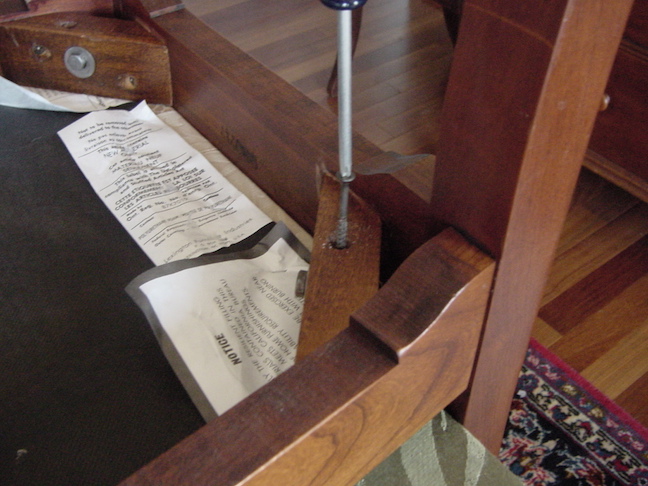
First thing was to unscrew the screws holding the seat to the frame.

Then the seats just lifted off the frames.
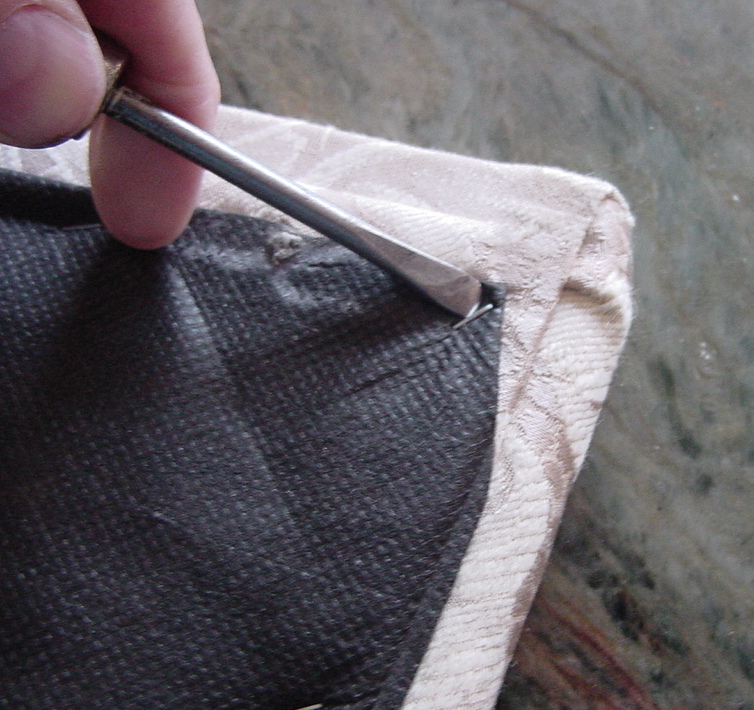
If one were using the original seat base frame again, then all the
little staples have to be removed, and the old upholstery material
and padding removed from the wood.
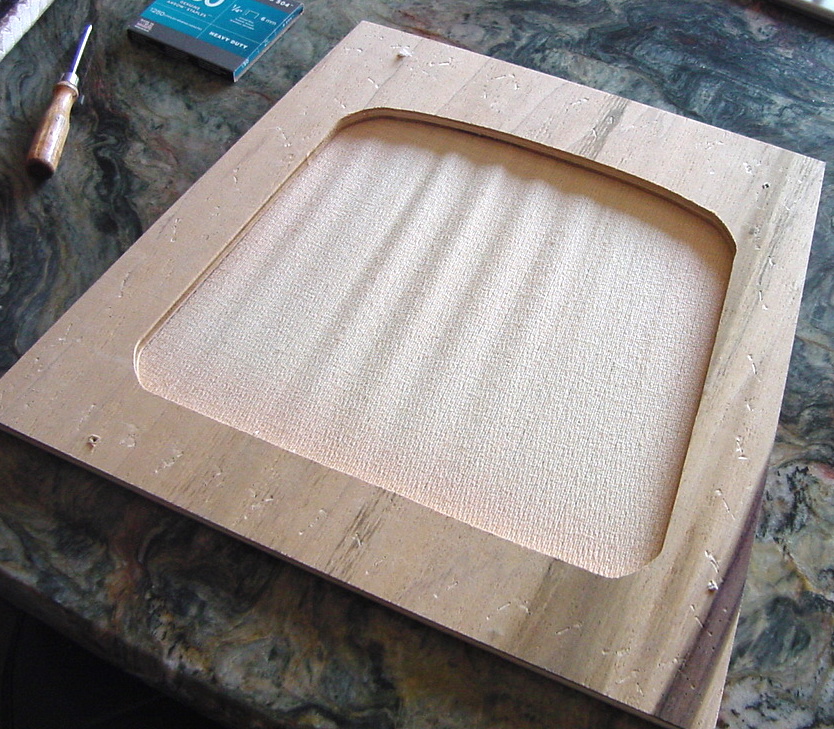
My chairs had these open frames, which gave you the feeling of
sitting in a hole, so I added a piece of 1/8 inch luan underlay
plywood to fill in the hole.
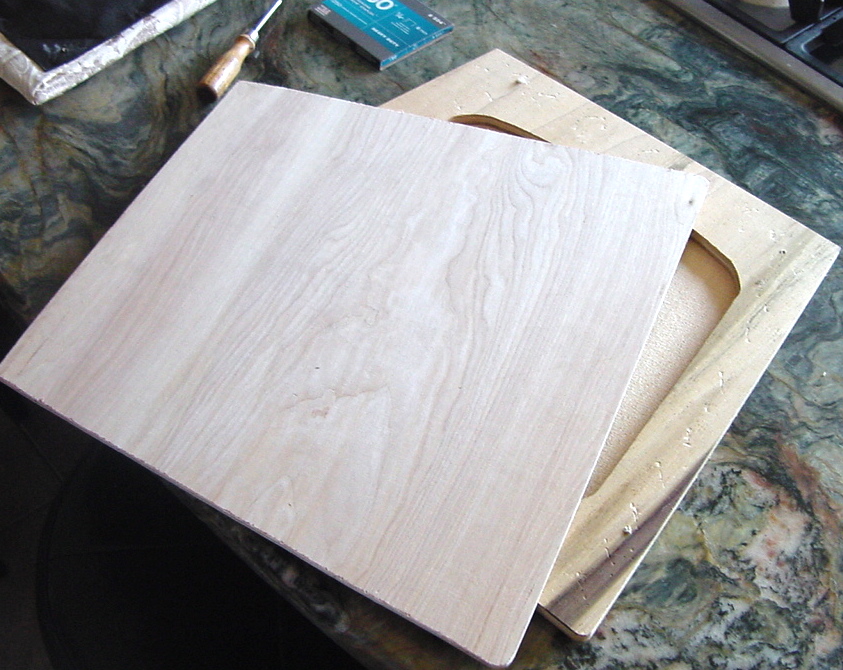
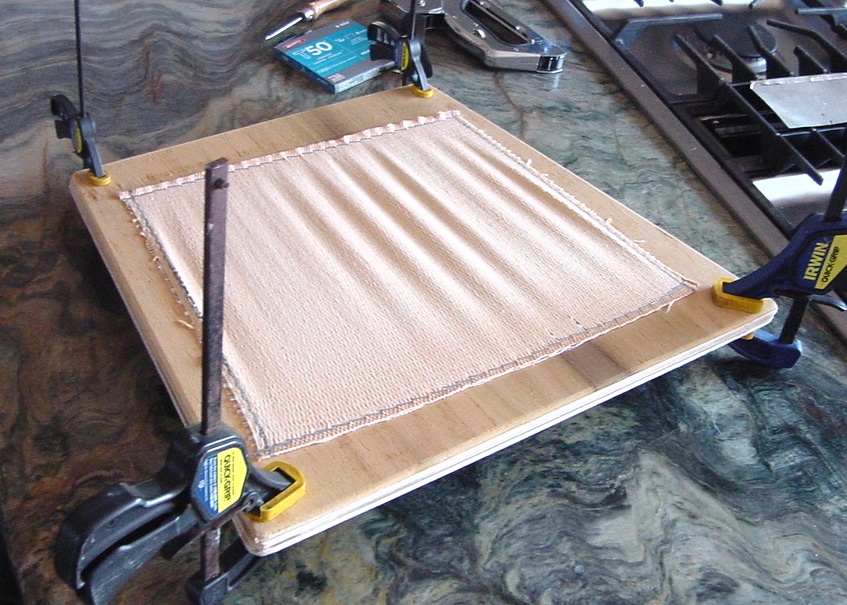
I glued the extra wood onto the old seat base to fill in the hole
and give a firmer seat.
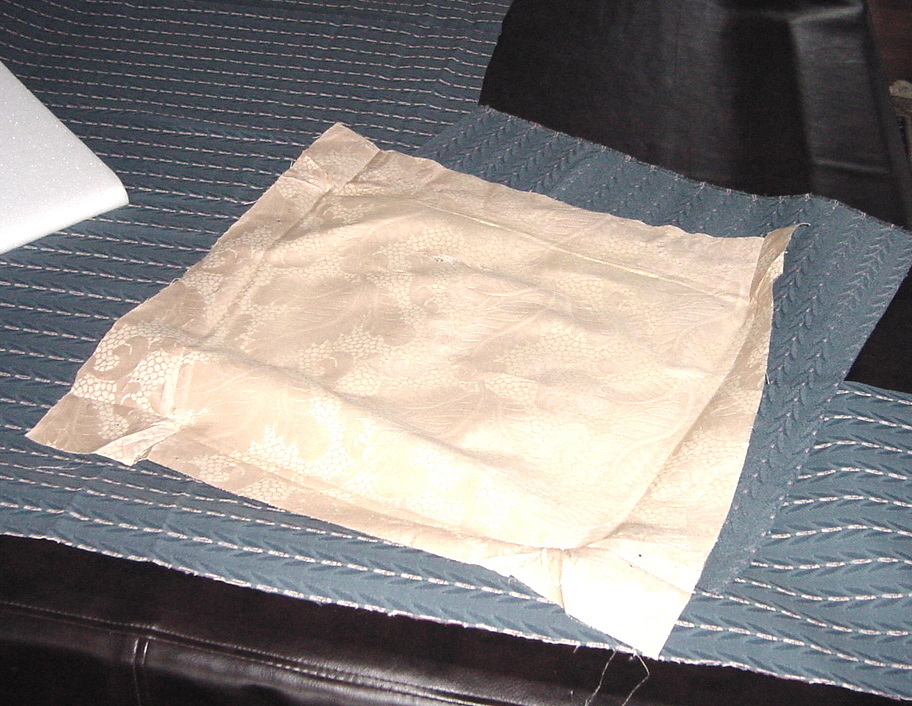
The old material was used as a template, and the new material was
cut to size.
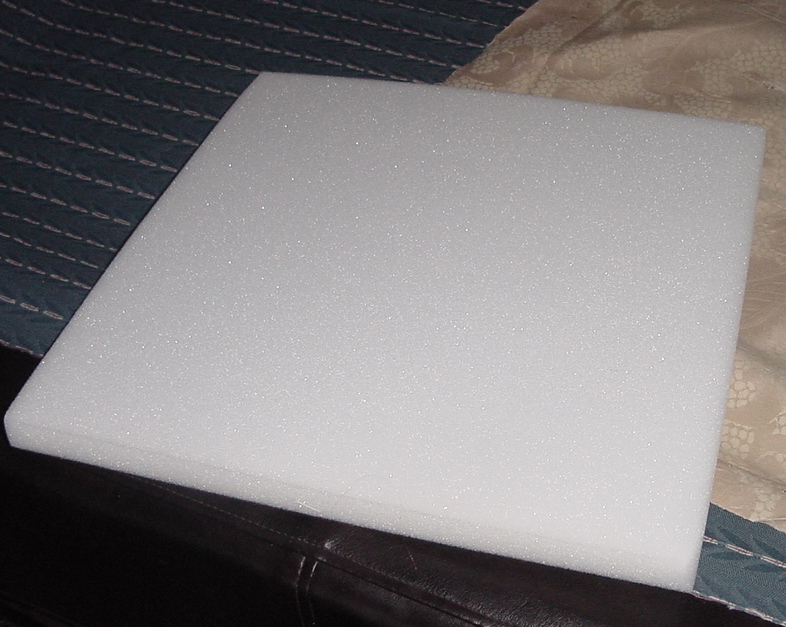
New cushion foam was then cut to size for each chair.
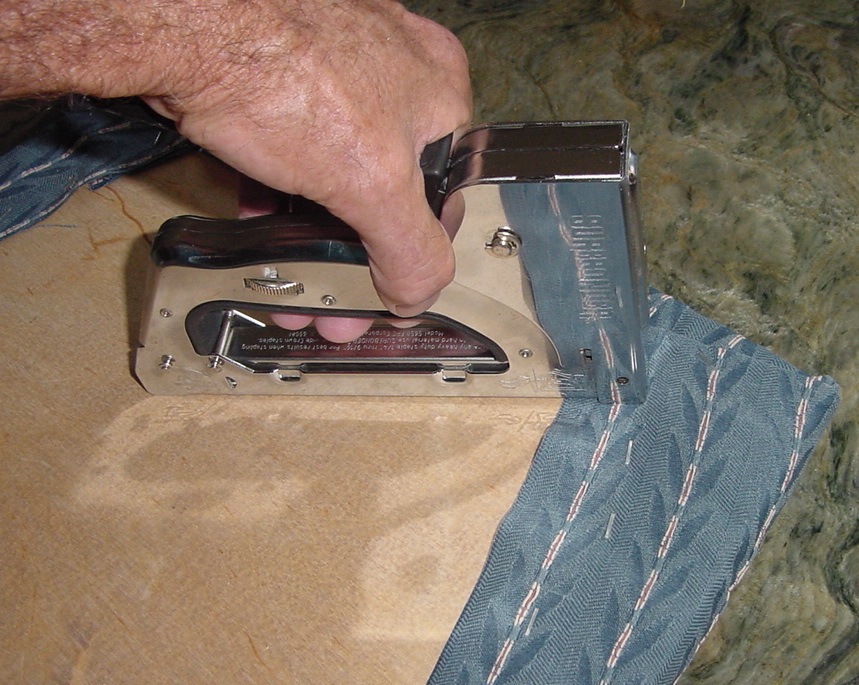
The hard part was stapling the material to the wood base with the
material straight on the frame, and just the right amount of
tension, to avoid any puckers.
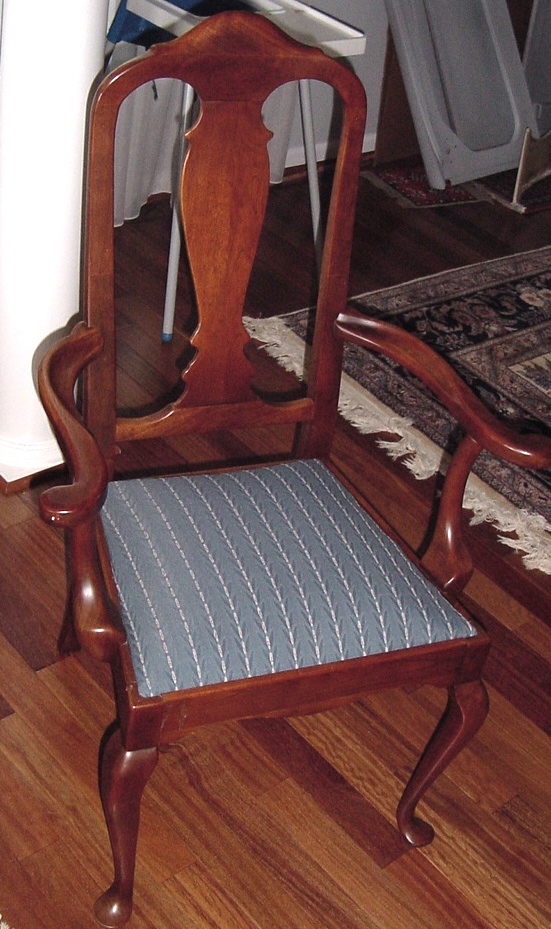
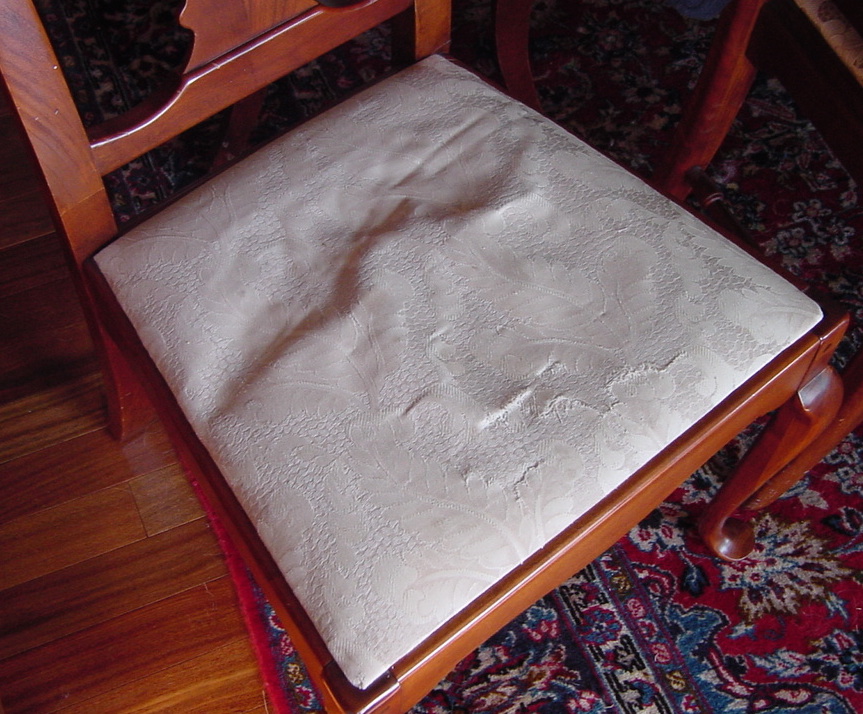
Beginner's luck prevailed, and my first attempt at furniture
upholstery passed the spousal inspection and not only look better
but are far more comfortable than the old seats were.